Setting up raw data export
Export data to Amazon Web Services
Swrve logs data for your apps in an Amazon S3 bucket that you access via S3cmd. This section covers the requirements for setting up raw data export to an Amazon S3 bucket.
Requirements
- Create an S3 bucket on your AWS account.
- Give Swrve log-export user access to the bucket.
- (Optional) Provide key or key alias for KMS encryption.
Create S3 bucket
To create an S3 bucket:
- If you haven’t already done so, sign up for a Free Amazon S3 Account at http://aws.amazon.com/s3/.
- On the Amazon Web console, go to S3.
- Select Create Bucket.
- Enter the bucket name as swrveexternal-<companyname>.
Ensure the bucket name is all lower case and there are no spaces or hyphens in the company name. The company name needs to match exactly what is set up in the dashboard. For example,if it says “ACME Inc” in the dashboard, “swrveexternal-acme” won’t work; it should be “swrveexternal-acmeinc“.
- Depending on your data requirements, Swrve stores all customer data and content in either our US or EU data centers.
- If your app uses our US data center (for example, https://dashboard.swrve.com/), set the AWS region as us-east-1.
- If your app uses our EU data center (for example, https://eu-dashboard.swrve.com), set the AWS region as EU-West-1.
- Select Create.
Give Swrve permissions to write to the bucket
After you create the S3 bucket, you need to give Swrve’s log-export account permission to write to the bucket by adding a bucket policy. To add a bucket policy:
- Select the name of the new bucket.
- On the top right, select Properties.
- Select Permissions.
- Select Add bucket policy.
- Enter the following JSON configuration, replacing <companyname> with your company name (lower case, no spaces or hyphens). Ensure the JSON code matches exactly.
{ "Version": "2012-10-17", "Statement": [ { "Sid": "SwrveLogExport1", "Effect": "Allow", "Principal": { "AWS": "arn:aws:iam::337091625095:user/log-export" }, "Action": "s3:*", "Resource": [ "arn:aws:s3:::swrveexternal-<companyname>", "arn:aws:s3:::swrveexternal-<companyname>/*" ] } ] } - Select Save.
Accessing logs
To get access to logs:
- Send a message to support@swrve.com to request that Swrve enable log export for the required apps.
- After your CSM confirms logging export is enabled, download s3cmd from s3tools.org.
- Use s3cmd ls to browse your bucket.
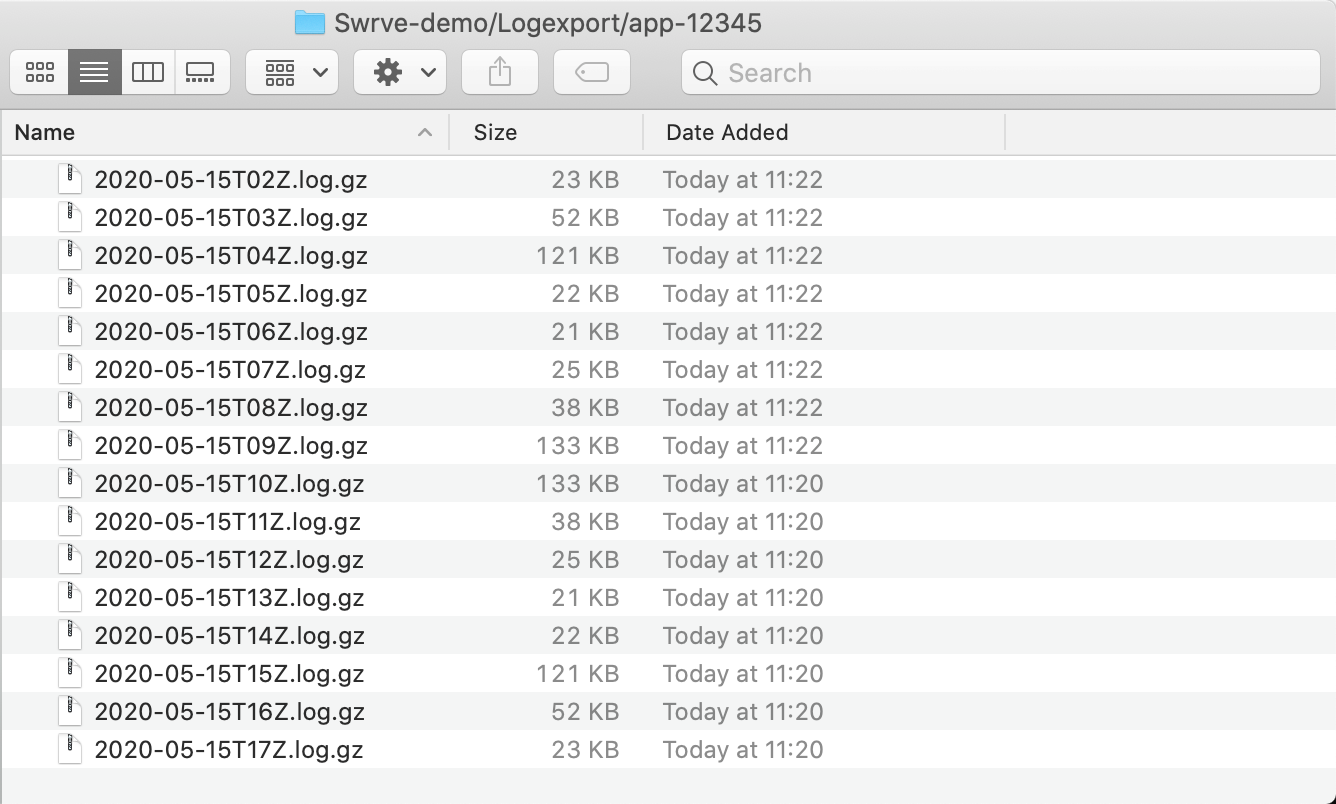
Log files are generated for every hour. File names are formatted as:
s3://swrveexternal-companyname/app-[app_id]/yyyy-mm-ddT[hour]Z.log.gz
For example, if your company name was Acme, the app ID 12345, and you wanted the logs from 15-May-2020 from 14:00 to 15:00, you could download them with the following:
s3cmd get s3://swrveexternal-acme/app-12345/2020-05-15T14Z.log.gz
Once the file is downloaded, decompress it with the following:
gunzip 2020-05-15T14Z.log.gz
This results in the plain text file 2020-05-15T14Z.log containing JSON-formatted events.
Server-side encryption
If you would like to use AWS Key Management Service (KMS) to secure the export of your data from Swrve to Amazon, contact your CSM at support@swrve.com. You need to provide the Amazon Resource Name (ARN) for the KMS key or key alias that you want to use to encrypt the data in the S3 bucket.
You can use AWS S3 encryption by enabling Server Side Encryption by default and creating a dedicated AWS KMS key that the Swrve user has rights to.
- Login to https://console.aws.amazon.com/kms and create a Customer Managed Key dedicated to encryption for your bucket:
- Key Type: Symmetric
- Advanced Options > Key Material Origin: KMS
- Alias: For example,
Swrve-Data-Export
- Once the key is created, you need to edit the new key’s Key Policy as follows:
{
    "Version":"2012-10-17",
    "Id":"swrve-export",
    "Statement":[
        {
            "Sid":"Enable IAM User Permissions",
            "Effect":"Allow",
            "Principal":{
                "AWS":"arn:aws:iam::<your aws account id>:root"
            },
            "Action":"kms:*",
            "Resource":"<new key arn>"
        },
        {
            "Sid":"swrve-export-user",
            "Effect":"Allow",
            "Principal":{
                "AWS":"arn:aws:iam::337091625095:user/log-export"
            },
            "Action":[
                "kms:Decrypt",
                "kms:GenerateDataKey",
                "kms:DescribeKey"
            ],
            "Resource":"<new key arn>"
        }
    ]
}
Note: Substitute
<your aws account id>with your own AWS Account ID and<new key arn>with the ARN of the key just created. - Update the S3 bucket’s properties and enable Default Encryption:
- Server Side Encryption: Enabled
- Encryption Key Type: AWS Key Management Service key (SSE-KMS)
- AWS KMS key: Enter KMS master key ARN (enter the ARN of the KMS key created above)
- Save your changes.
Export data to Google Cloud Storage
Swrve logs data for your apps in a Cloud Storage Bucket that you access from the Google Cloud Platform Console. This section covers the requirements for setting up raw data export to a Google Cloud Storage bucket.
Requirements
- In your Google Cloud Platform Console, create a service account that you want to use to write the data to Google Cloud Storage. The service account name usually follows the same syntax as an email address; for example, accountname@something.gserviceaccount.com.
- Create a Cloud Storage bucket that you want the data to be written to. The bucket name must be unique, however there is no set requirement on what or how you name the bucket.
- Give Swrve Writer user permission for the bucket. For example, include the following object permissions so Swrve can list the contents of the bucket:
-
storage.objects.createstorage.objects.liststorage.objects.updatestorage.objects.delete
-
- Get the p12 certificate that gives authentication for the named service account from the Cloud Storage Console.
- Contact your CSM at support@swrve.com and ask them to enable your app for Google Cloud Storage data export. You need to provide the service account name, bucket name and p12 certificate.
Accessing logs
To access the data logs in Google Cloud Storage:
- After your CSM confirms logging export is enabled, access the Cloud Storage Bucket in your Google Cloud Platform Console. The download files in the Cloud Storage Bucket are automatically named by app ID.

- Double-click an app folder to view the log files within it. Log files are generated for every hour. File names are formatted as YYYY-MM-DDTHHZ.log.gz.

- Follow the Google Cloud Platform steps for downloading and viewing the log file. The decompressed file is a plain text file named YYYY-MM-DDTHHZ.log, containing JSON-formatted events.
Next steps
- Learn how to parse the raw event logs by understanding the Swrve data schema.
Most Swrve customers can self-host this pipeline; all you have to do is follow the steps in these tutorials. However, if you prefer a turn-key hosted solution, we do offer one as a professional service. There is an additional fee associated with this service. For more information, contact your CSM at support@swrve.com.
Swrve support can help you with basic setup and configuration of the pipeline described above. If you need help with your queries, contact our Data Services team at support@swrve.com. They will help you get the most out of your data with dedicated support, pre-built and custom reports, and dedicated data science hours.