Targeting campaign audiences
Audiences vs. segments
Campaign audience filters are grouped under two sections:
- User Profile filters – criteria that is based on user, device, or event profiles.
- User Behavior filters – filters based on historical user behavior.
If you’re creating segments for analytics or resource A/B testing purposes, you can use any combination of User Profile filters, including event recency and date-related user properties. For more information on the filter options available for creating segments and audiences, see Segment and audience filters.
Defining your target audience
When you define your target audience in the campaign builder, the Audience screen (or Define Target Audience section for in-app and Conversation campaigns) displays the options available for targeting your campaign.

Depending on the campaign channel and your third-party integrations, the following options are available:
- All Users – send the campaign to all users.
- Custom Audience – build a custom audience using any combination of user profile and user behavior filters.
- External Audience – use an audience from an external source (for example, Marketing Cloud) or a linked push notification campaign.
Creating a custom audience
Select the Custom Audience tab to build a custom audience based on any combination of user profile and user behavior filters.
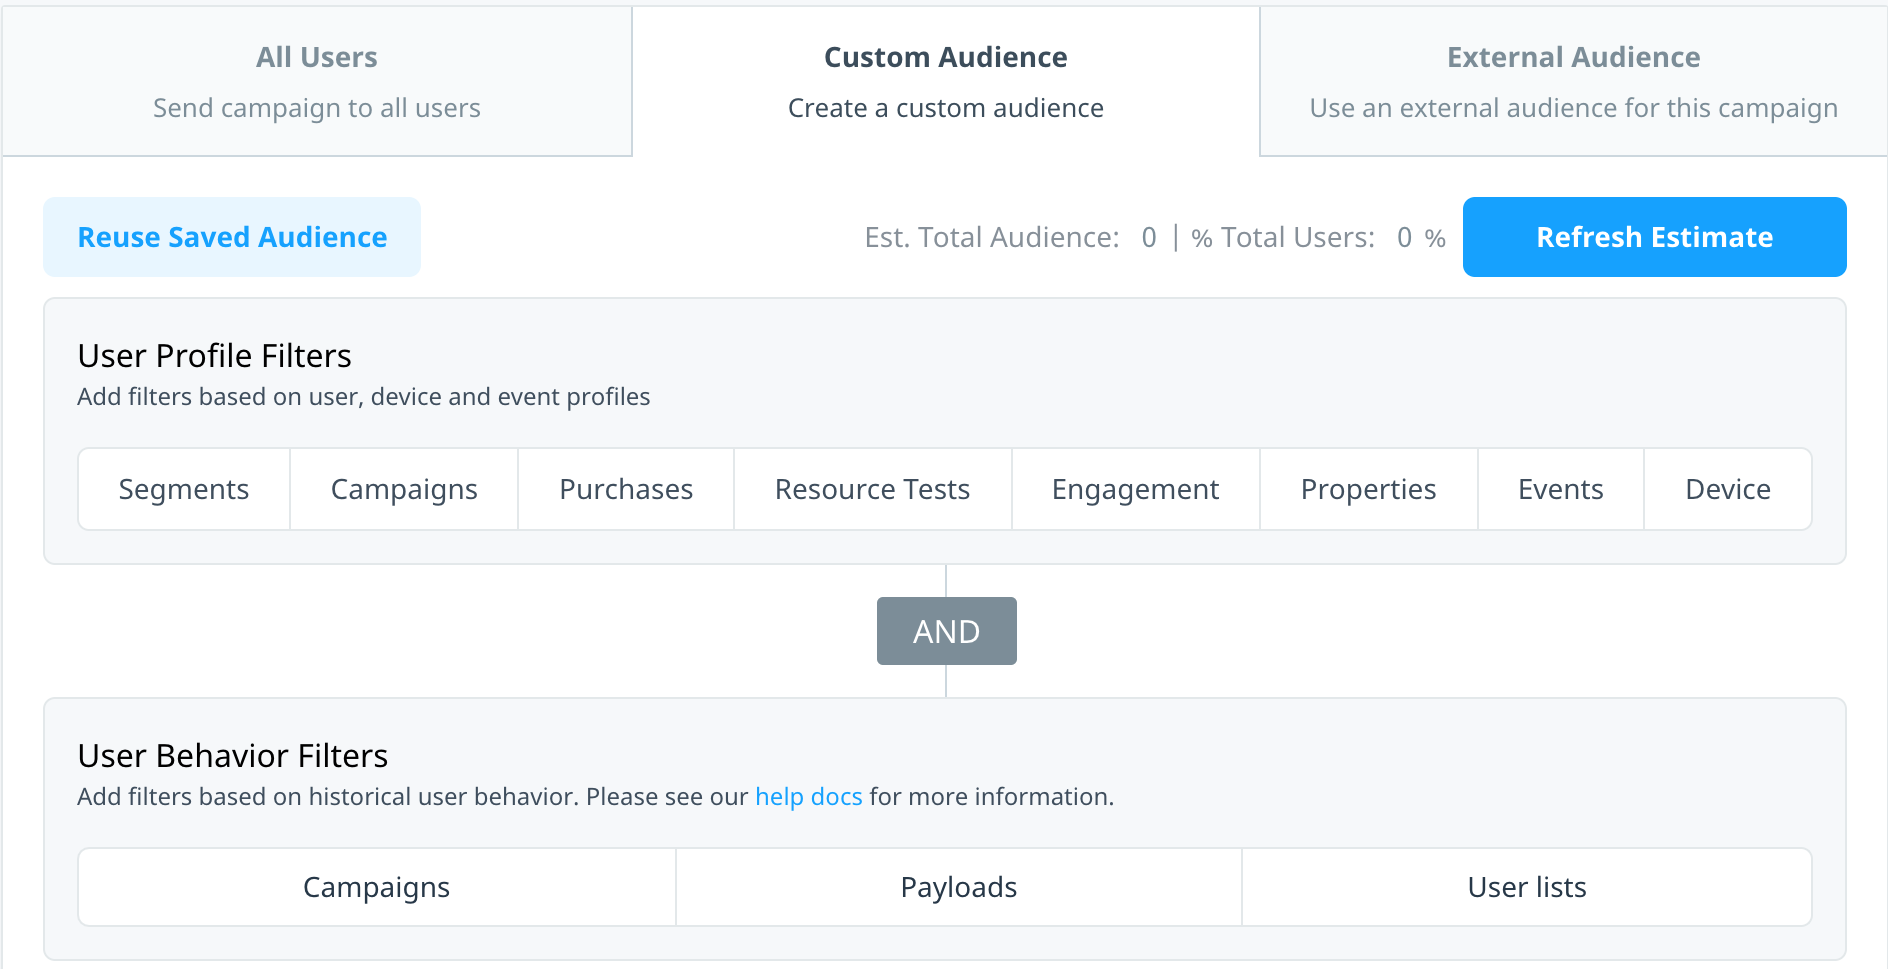
The Est. Total Audience displays an estimate of your users who qualify for the audience. The estimated audience is calculated slightly differently depending on the campaign channel. For example, in-app campaign audiences are based on a sample of recently active users in the last seven days, while push notification audiences are based on a sample of your total user population. To update the audience estimate as you add more filters, select Refresh Estimate.
User profile filters
User profile filters target your audience based on information contained in their internal Swrve user profile. For detailed information about the type of data and filter operators available, see the appropriate section in Segment and audience filters.
| Filter Name | Description |
|---|---|
| Segments | Filters the audience based on the definition of an existing user segment and whether or not the user is part of that segment. |
| Campaigns | Filters the audience based on their exposure and interaction, past or present, to specific in-app message campaigns. |
| Purchases | Filters the audience based on purchase-related behavior such as the total amount spent or the total number or recency of in-app purchases. |
| Resource Tests | Filters the audience based on their exposure to specific treatments in a resource A/B test. |
| Engagement | Filters the audience based on engagement-related criteria such as the number of app sessions and the lifetime minutes spent in the app. |
| Properties | Filters the audience based on custom user properties. |
| Events | Filters the audience based on the total count of the event or the recency of a custom event. |
| Device | Filters the audience based on device-related criteria such as device name, operating system, or version. |
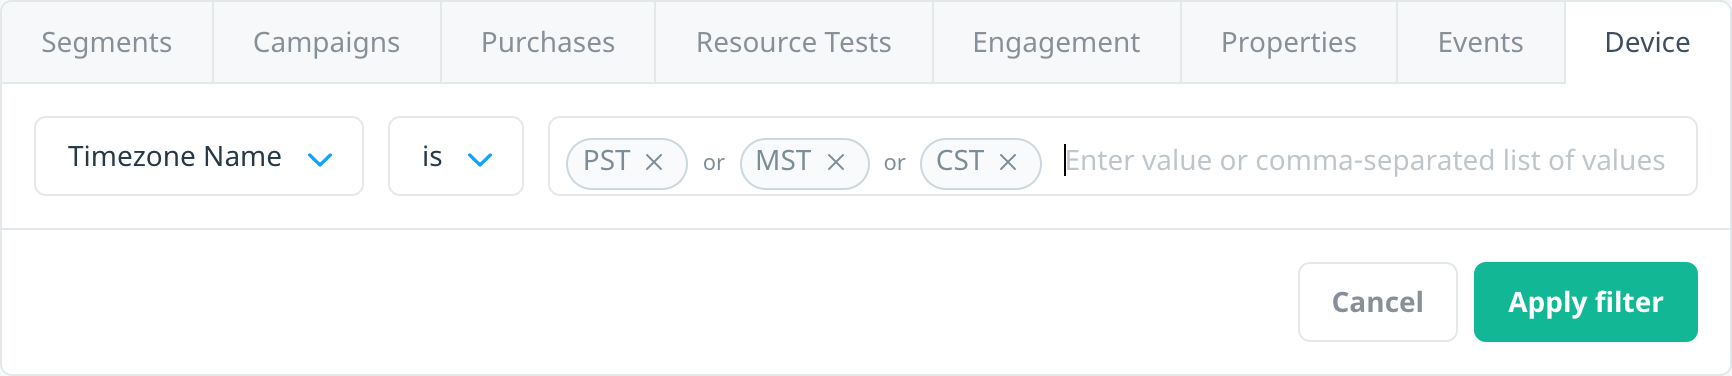
To add a user profile filter:
- Under User Profile Filters, select the type of data on which you want to base your filter.
- Create your filter using the filter type, operator, and value fields provided. To include multiple values in a filter, select or enter the additional values in the value box.
- Select Apply filter to add your filter. The audience definition displays a summary of the filters as you add them.
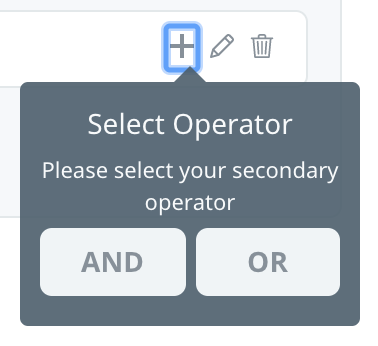
- Optionally, to create more complex filters, use secondary filters to apply additional constraints within one group.
- To add a secondary filter, on the filter summary select add (+) and then select the operator you want to use:
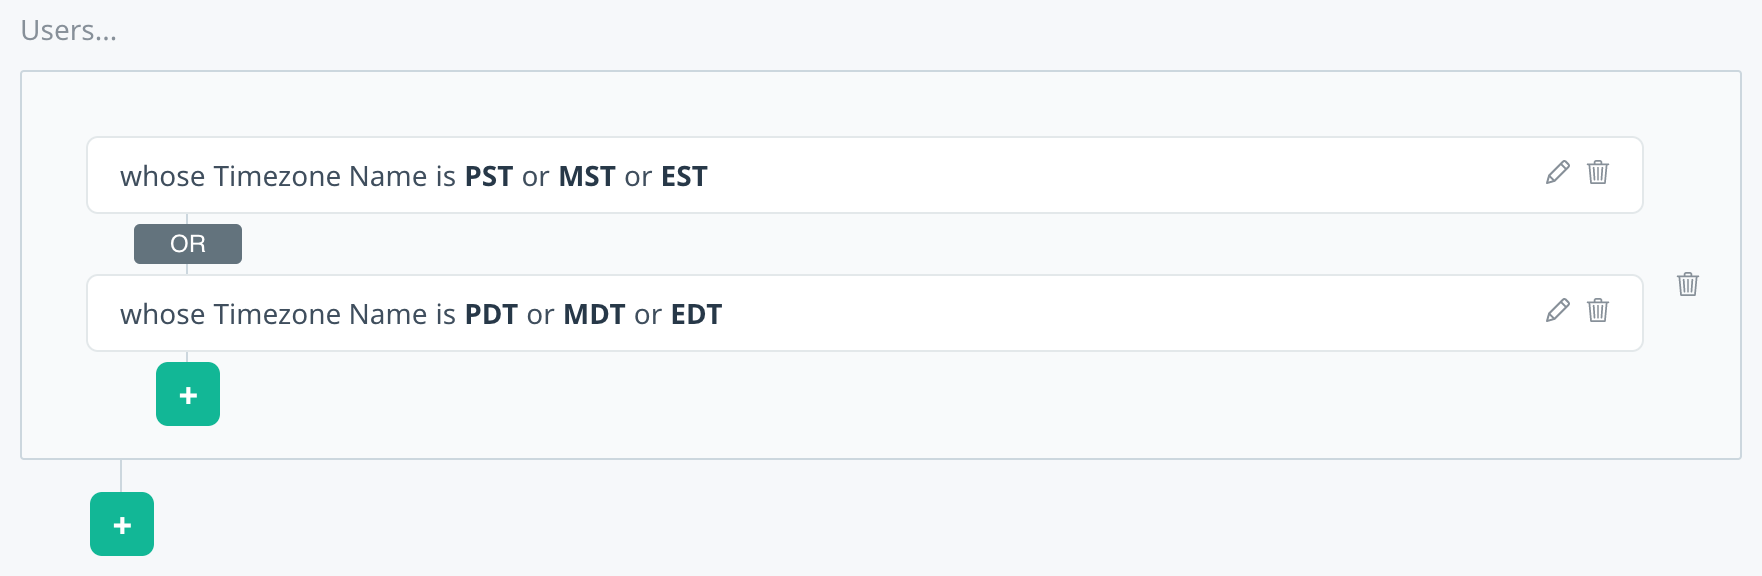
- Add the additional filter criteria and then select Apply filter. The filter definition is added to the summary and you can continue to add more secondary filters as required.
- To add a secondary filter, on the filter summary select add (+) and then select the operator you want to use:
- To add another group of filters to your audience, select Add a new filter + and then select the primary operator you want to use.

- Repeat steps 1 to 3 above for every additional filter.
Depending on your comfort level with AND/OR logic, use the primary and secondary filter operators to create audiences that are as basic or advanced as needed. For more information about advanced filters, see Segment and audience filters.
User behavior filters
User behavior filters allow for more granular targeting based on push notification campaign events and custom event payloads.
Campaigns
Target your audience based on their exposure to and interactions with push notification campaigns.
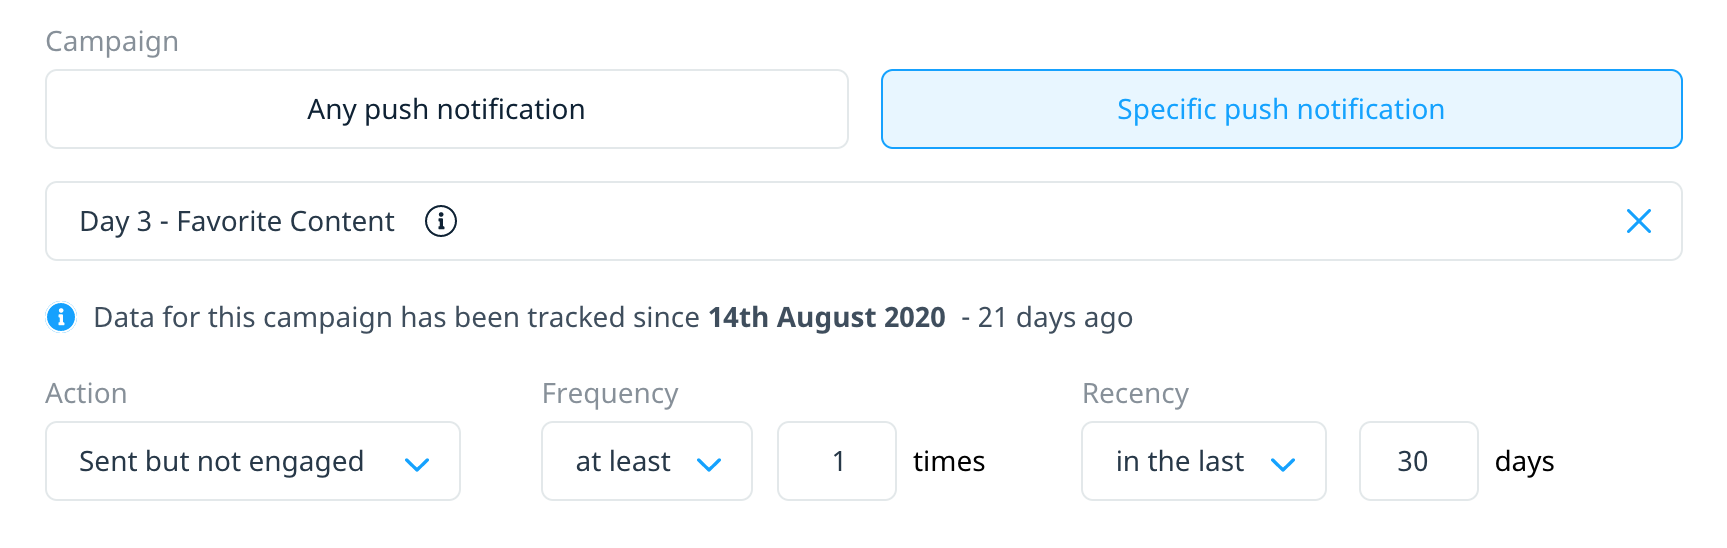
To target your audience using push notification events, you must first launch a push notification campaign in Swrve. For more information, see Creating a multi-platform push campaign.
Payloads
Target your audience based on their historical activity using event payloads.
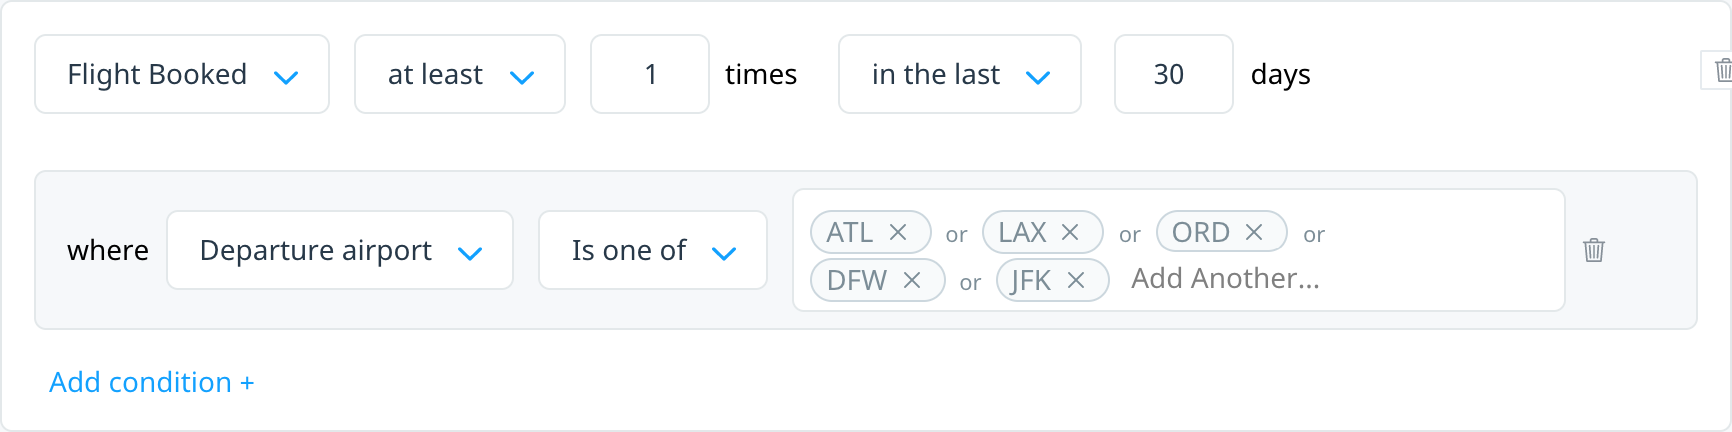
To target your audience using event payloads, you must first configure the required events in your Swrve dashboard. For more information, see Configuring event payloads or contact your CSM at support@messagegears.com. They will work with you to define the best schema for the events and payloads you want to use to target your users. For more information about how to create user behavior filters, see Targeting your audience by event payloads.
User lists
Target your users based on their presence in a user list.
 To target your user lists in a campaign, you must first create and add users to the list. For more information, see User lists, or contact your CSM at support@messagegears.com for further assistance.
Saved audiences
Save your audience definitions for reuse in other campaigns, whether directly in Swrve or with our new Experience APIs.
There are two methods for creating reusable audiences in Swrve:
- From the Saved audiences management screen.
- When building a campaign’s target audience.
Create a saved audience
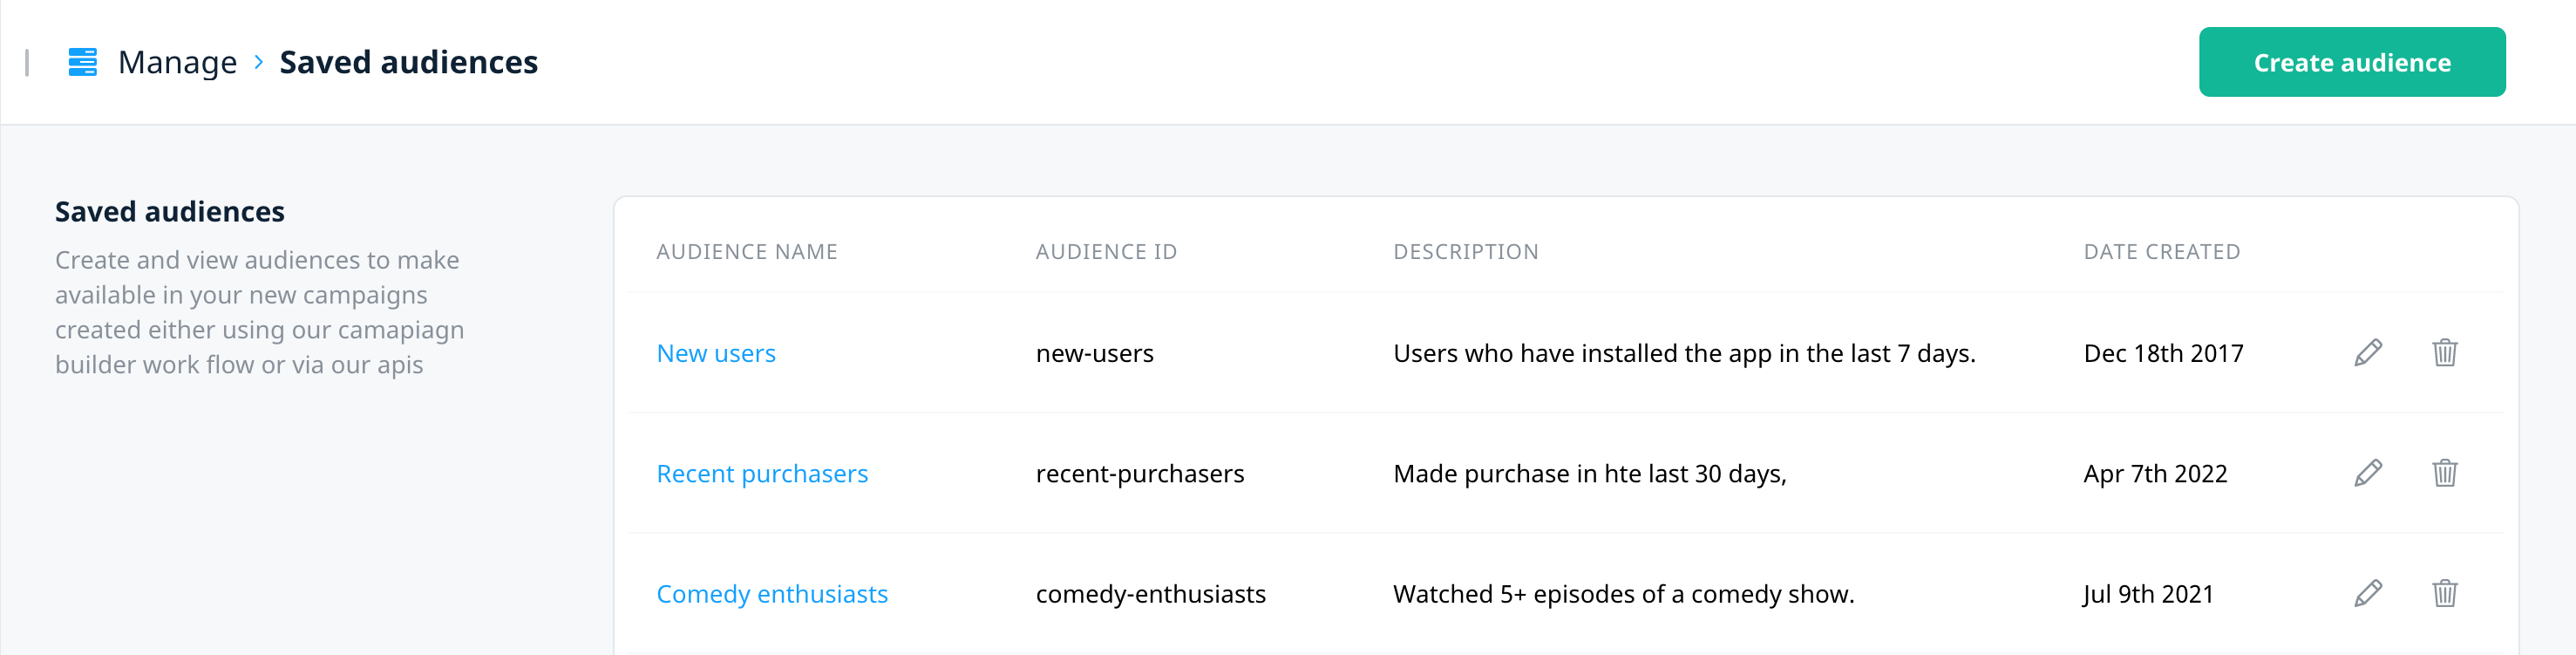
Use the Saved audiences screen to create and manage your audiences outside of the campaign workflow. To view and manage your audiences, on the Manage menu, select Saved audiences.
To create a saved audience:
- On the Saved audiences screen, select Create audience.
- On the New saved audience screen, enter the following details:
- Audience name – The audience name, as you want it to display in the campaign audience builder.
- Audience ID – A unique value that identifies the audience when using Swrve’s Audience and Experience APIs. Once you set the Audience ID, it cannot be changed.
- Description – Optionally, enter a description for the audience. This might be helpful if you have multiple audiences with similar names.
- Build your audience filters based on any combination of user profile and behavior filters.
- After you’ve added all required filters, select Save.
Once saved, the audience displays in the Saved audiences list.
Save an audience while building your campaign
To save your audience from within the campaign workflow, define your audience on the Custom Audience tab of the audience builder, and then select the Save audience for later check box. Enter a name and ID for the audience in the appropriate boxes and then select Save audience.

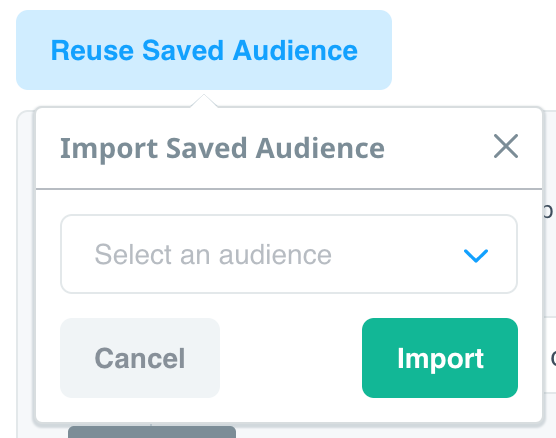
Reuse a saved audience
To use a saved audience in your campaign, on the Custom Audience tab, select Reuse Saved Audience. Select the audience you want to use from the list and then select Import. The audience summary displays the filters included in the saved audience, but you can add to, edit, or remove any filters as needed.
For information on how to use saved audiences when creating campaigns via API, see our Retrieve and target saved audiences tutorial.
Manage your saved audiences
Use the options available on the Saved audiences screen to create a new audience, edit the description of an existing audience, or delete an audience. The Saved audiences screen displays the following information for each audience:
| Column | Description |
|---|---|
| Name | The saved audience name as it appears in the Custom Audience tab of the audience builder. |
| ID | The ID you assigned the audience for use with Swrve Experience APIs. Once you set the ID, it cannot be changed. |
| Description | The audience description. |
| Date created | The date the audience was created. |
The following options are available for managing your saved audiences.
Edit an audience
- In the row of the audience you want to edit, select edit .
- Update the name, description, or filters of the audience as required, and then select Save.
Delete an audience
- In the row of the audience you want to delete, select delete .
- A message prompts you to confirm whether you want to delete the saved audience. To confirm your choice, select Continue.
External audiences
To use an audience from an external source, such as a marketing cloud or linked push notification campaign, select the External Audience tab.
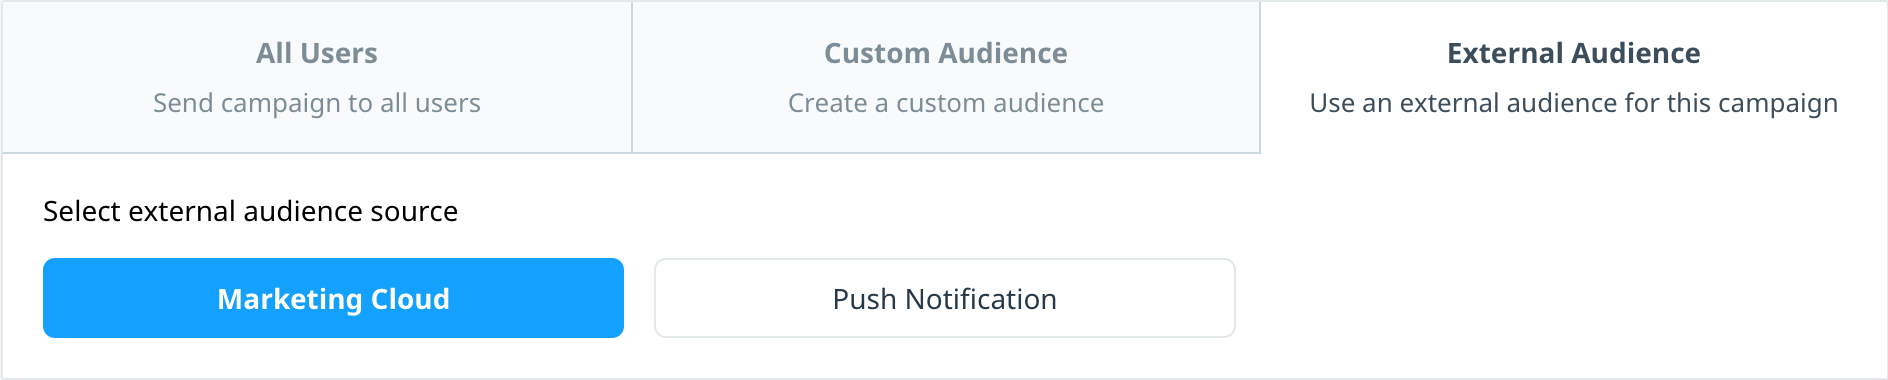
The external audience options are:
- Marketing Cloud – select this option to make an in-app message or Conversation campaign available to use in your marketing cloud app. Swrve has integrations with the following marketing clouds:
- Push Notification – select this option to make an in-app message or Conversation campaign available for linking from a push notification. For more information about linked campaigns, see Push notifications to in-app campaigns.
Next steps
- Learn how to combine user profile filters with event payloads to create more focused and refined campaign audiences. For more information, see Targeting your audience by event payloads.
- Learn how to target users based on their interactions with push notifications. For more information, see Targeting your audience by push notification events.
- Manage your campaigns in our unified campaign center. For more information, see Managing your campaigns.