Campaign tagging
Tags are a quick and easy way to organize your campaigns. Use the Tags manager to create or edit an agreed upon set of tags and then apply them to your campaigns during or after campaign setup.
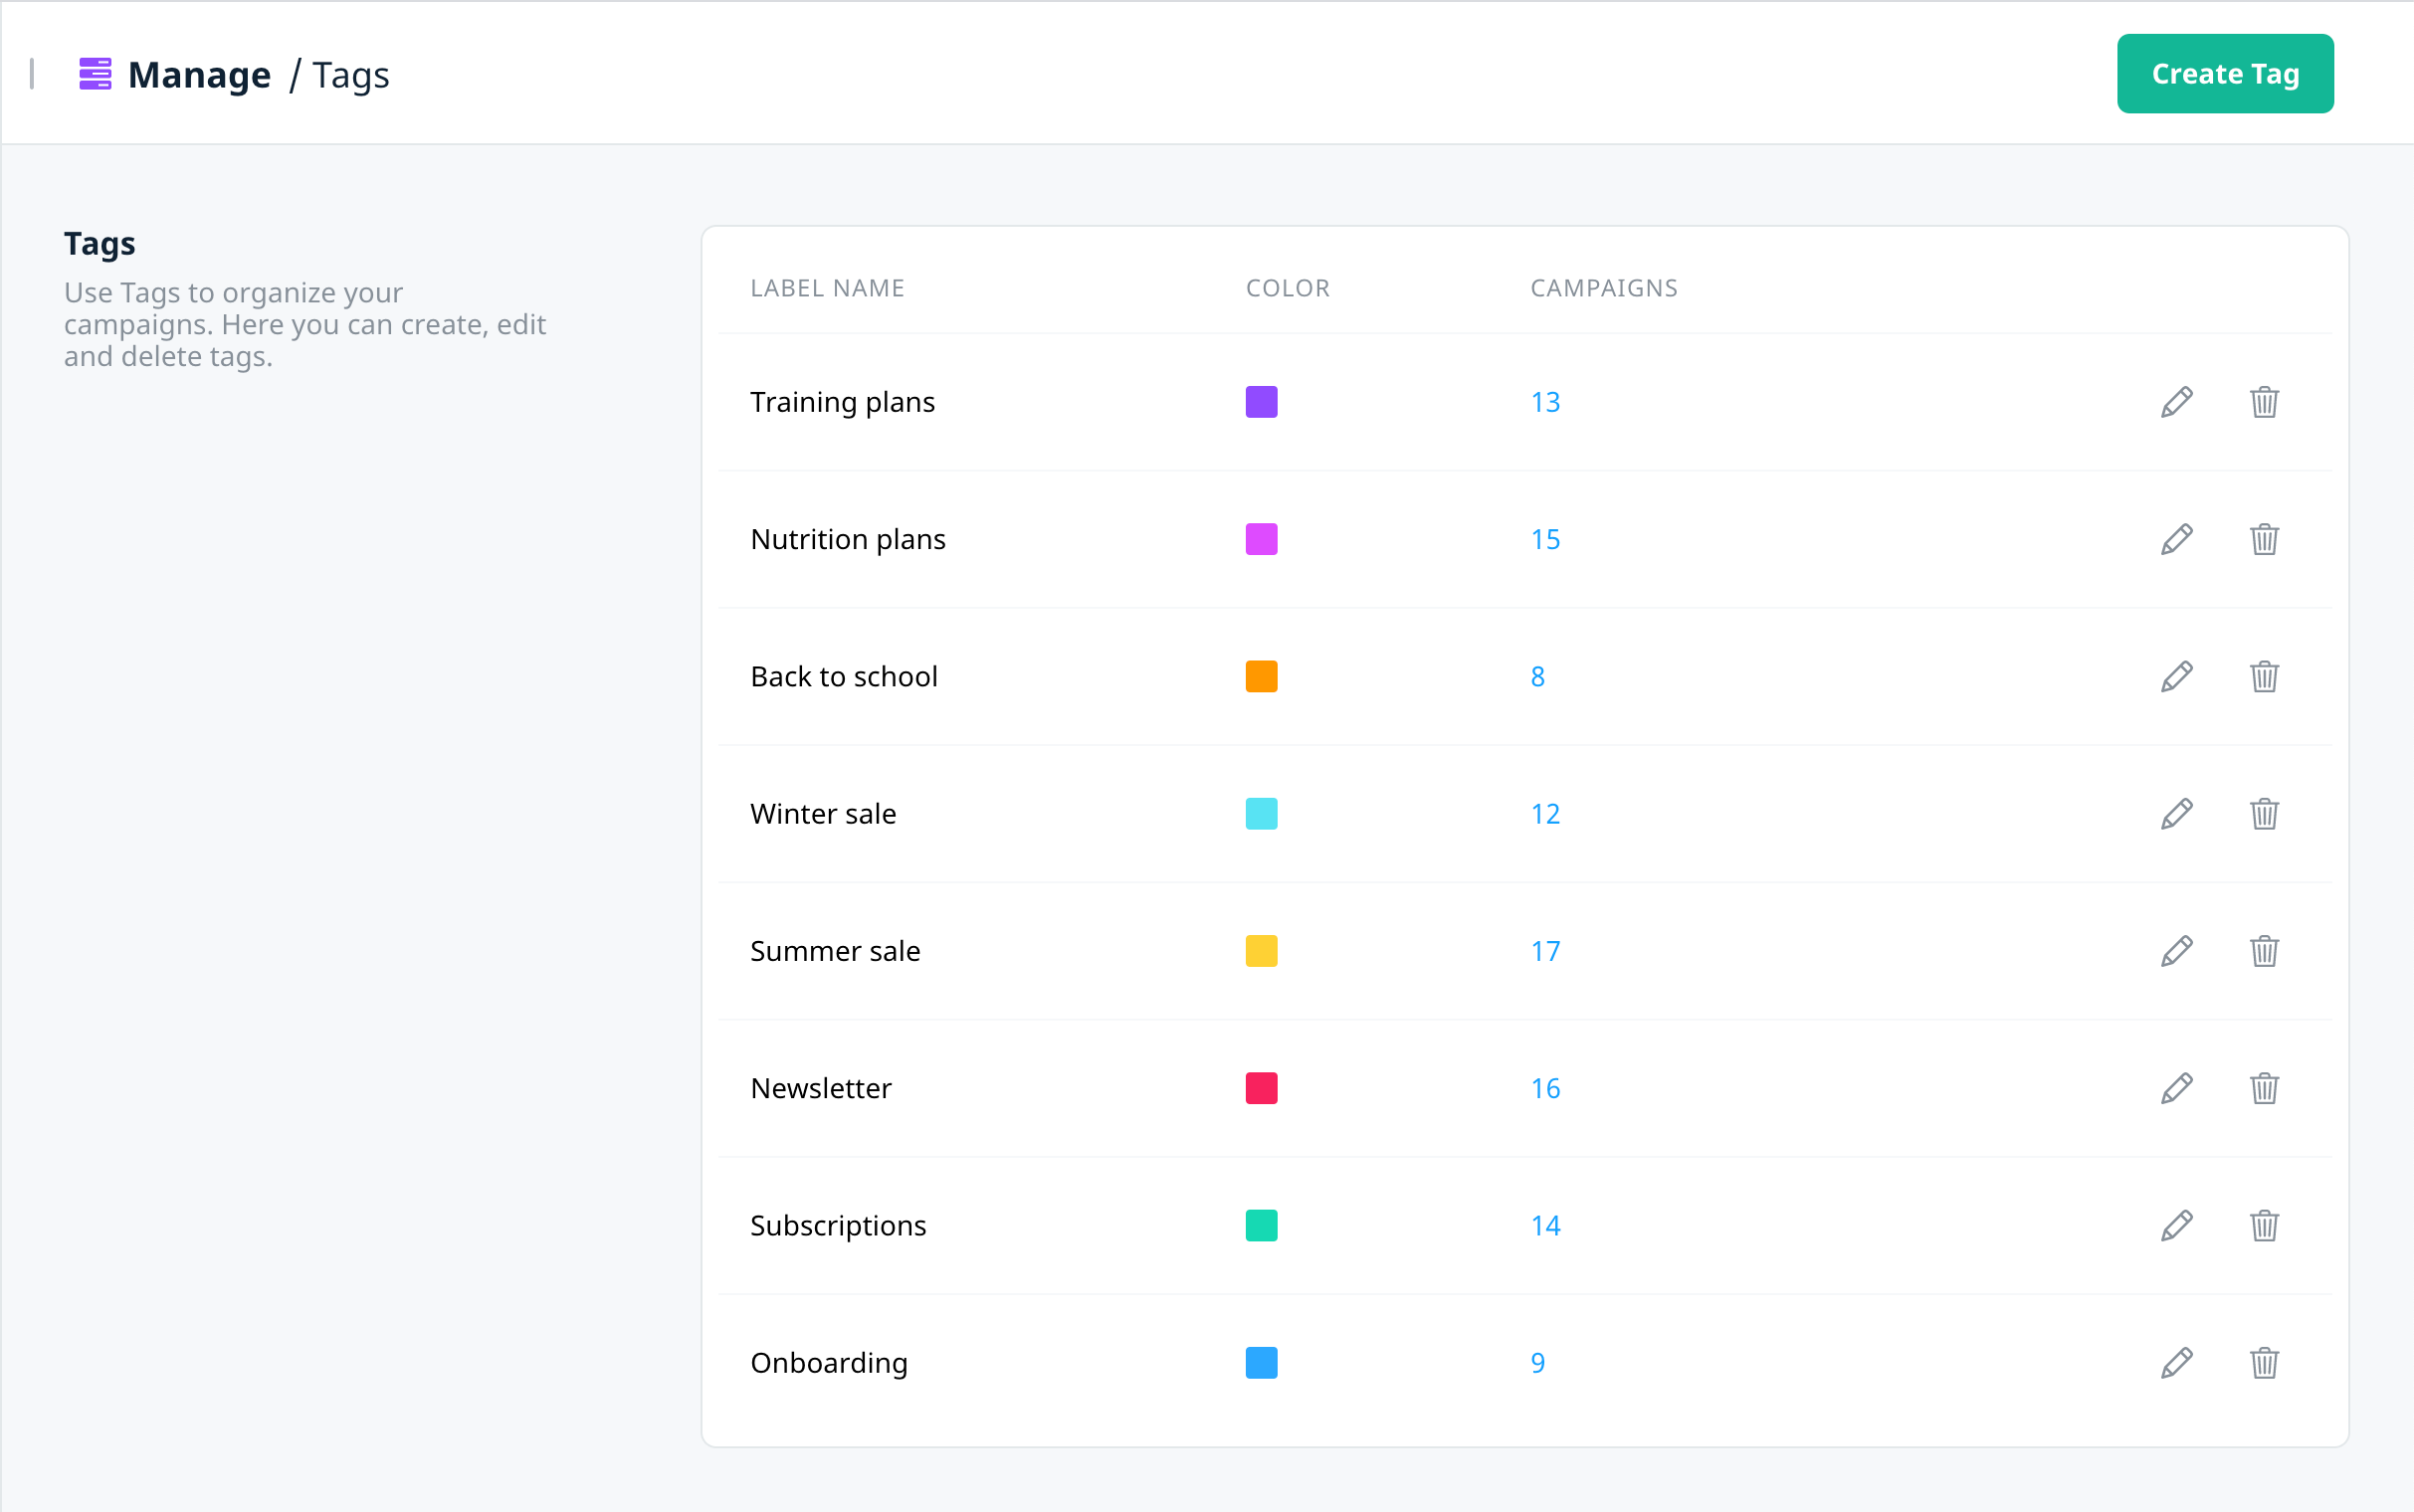
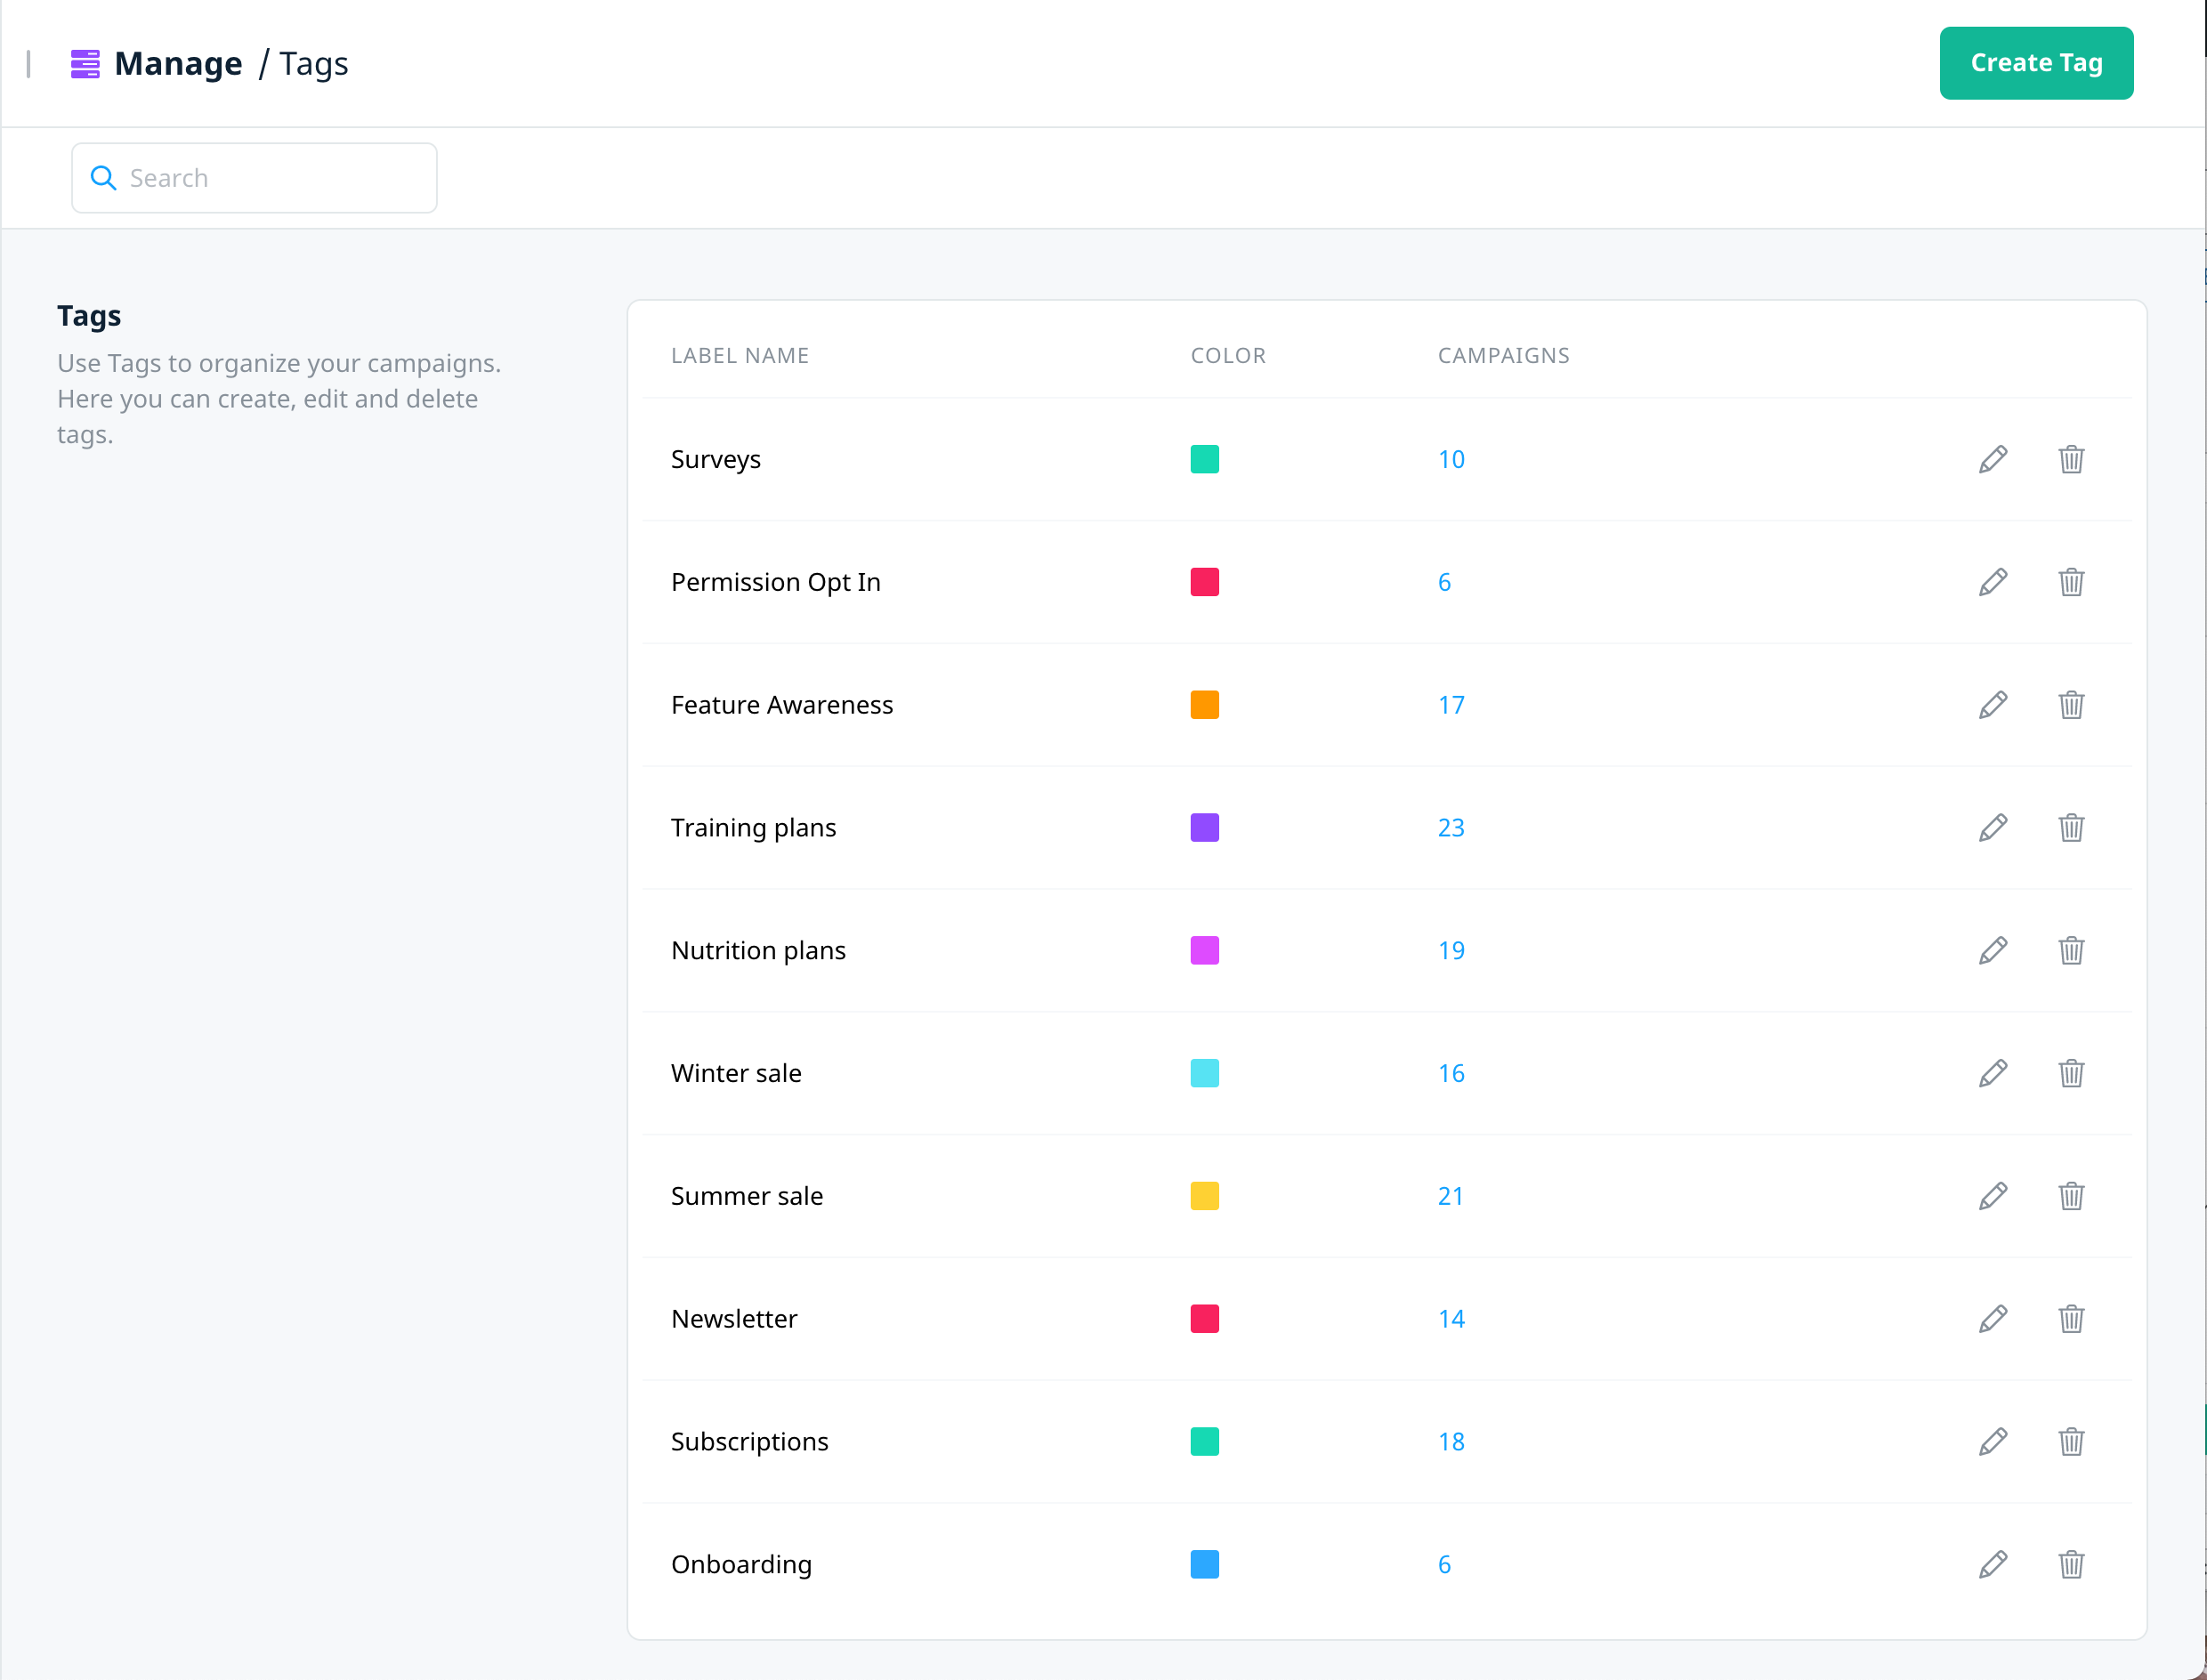
To view and manage your campaign tags, on the Manage menu, select Tags. The Tags screen is available to all users, however we recommend you first agree on a schema with your team regarding your tagging needs and color coding. The number of campaigns using each tag will indicate the most popular or unused tags.
Create a new tag
- On the Tags screen, select Create Tag.
- In the Create Tag dialog box, enter the Name and select a color for the tag.
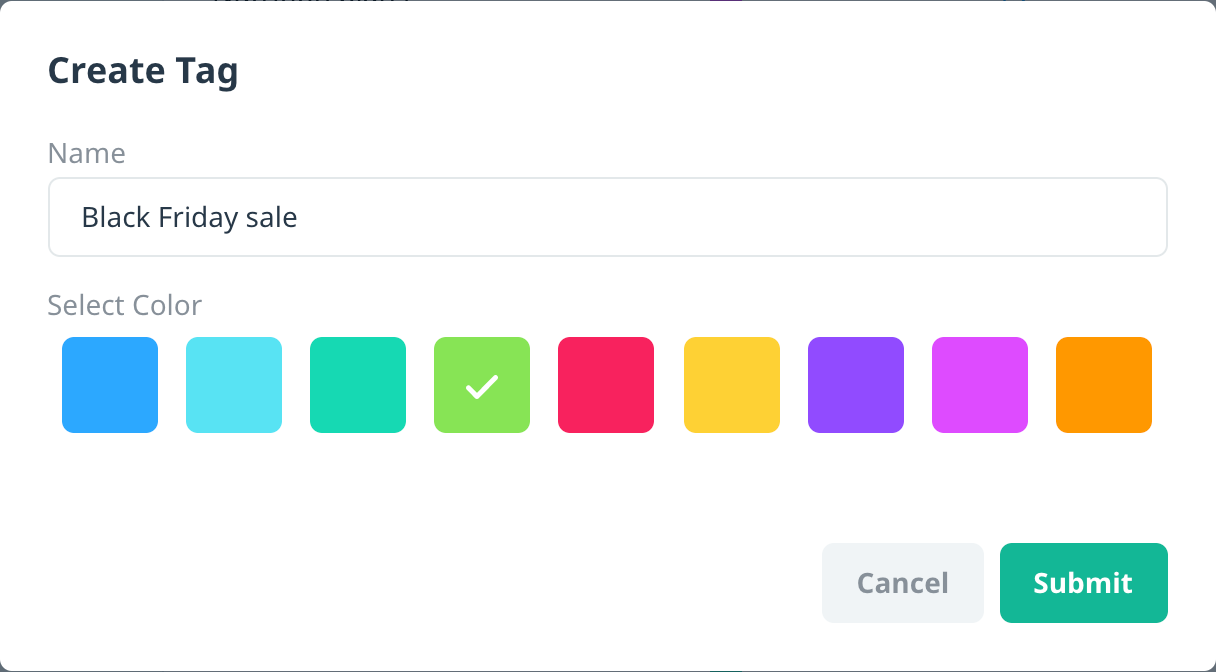
- To add the tag, select Submit.
The tag displays in the list and is immediately available to all users when creating and managing your campaigns.
There are two options to add tags to a campaign:
- For campaign channels that use the Campaign builder, as part of the campaign workflow when you create a new campaign.
- For campaigns in draft state, from the Actions menu on the campaign card.
Add tags to a new campaign
If you’re creating a campaign that uses the Campaign builder consolidated workflow (all channels except geo-triggered push), you have the option to add tags when you create a new campaign.
- Create a new campaign and select one of the supported channels.
- On the Campaign overview screen, enter the Campaign name and Description as required.
- Select the Tags list, and then select one or more tags to apply to the campaign.
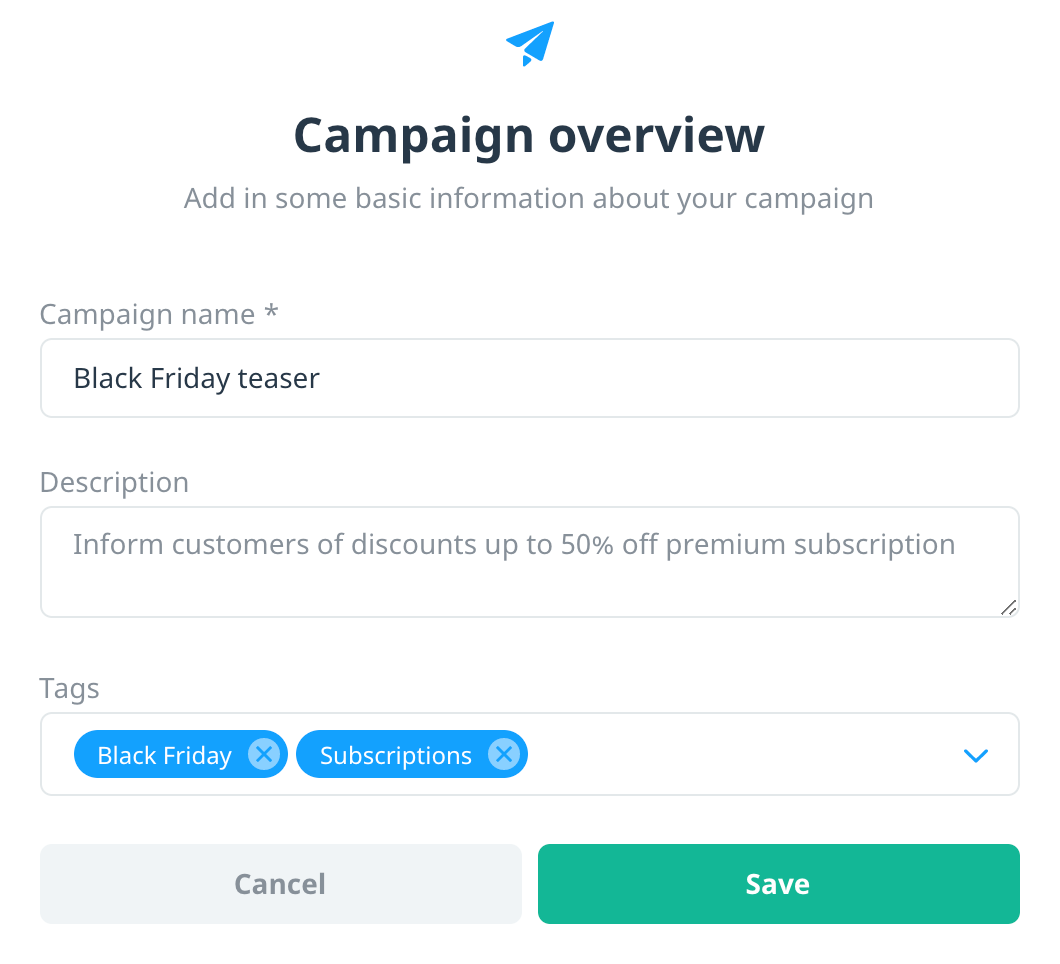
- To save the campaign and proceed to the Campaign builder, select Save.
The selected tags display on the Overview block of the Campaign builder. To edit the list of tags, select edit and then add or remove tags as required.
Add tags to draft campaigns
Use this option to add or remove tags to any campaign in draft state, including geo-triggered push.
- On the campaign card for the draft campaign, select Actions , then Edit tags.
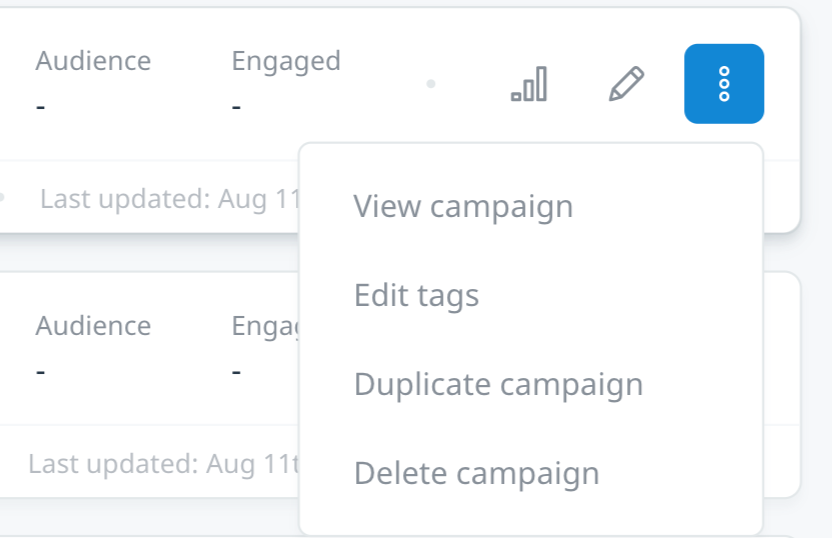
- In the Manage Tags dialog box, select the list to add tags to the campaign, or select X on a tag label to remove it.

- To apply the tags to the draft campaign, select Submit.
Depending on the width of your screen, the campaign card displays the applied tags and, if applicable, a number badge indicating any additional tags. Additional tags are displayed when you hover over the badge.
Campaigns filters include the option to personalize your view by tags. Use this option to view all campaigns associated with one or more tags.
Filter campaigns by tags
- On the Campaigns screen, under the filter options, select Tags.
- Use the search box to find your tags by keyword, and select the tag(s) you want to use to filter your view.
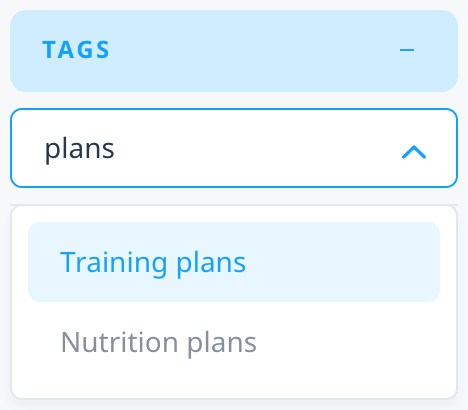
The filters are applied to your Campaigns view, and along with any other selected filters, display a list of campaigns associated with the selected tags.
On the Tags management screen, the Campaigns column displays the total number of campaigns that are associated with each tag. To view a quickly filtered list of those campaigns in a new window, select the number.
The following options are also available for managing your tags.
Edit tag
- In the row of the tag you want to edit, select edit .
- Update the name or color of the tag as required, and then select Submit.
Delete tag
- In the row of the tag you want to delete, select delete .
- A confirmation message displays the number of campaigns that are associated with the tag. To confirm your choice, select Continue.
Next steps
- To apply tags to a new campaign using the Campaign builder, see Campaign overview and channels.
- To manage your campaigns in the Campaigns center, see Managing your campaigns.
