Scheduling your campaigns
The final stage of creating your campaign is to set the delivery date, time, frequency, and when applicable, triggers. Push notification campaigns offer multiple delivery options, including one time only or recurring, with options to send immediately, send at optimal times for your users, or schedule future dates and times. Triggered campaigns offer multiple display options, including displaying when the user launches the app or triggers specific events. If your app uses Swrve’s Message center API, you also have the option to display the message in the app’s inbox.
Schedule batch campaigns
To view scheduling options from the campaign build screen, select the Schedule block.
On the Schedule your campaign screen, select the frequency for sending your campaign. The options are One time only or Recurring.
One time only
To send your campaign as a one-time occurrence, select One time only and then select your scheduling options:
- As soon as possible: To send your campaign as soon as possible after launching, select As soon as possible, then select Save.
- On a specific date: To schedule your batch campaign for a set delivery date and time, follow the steps below:
- Select On a specific date.
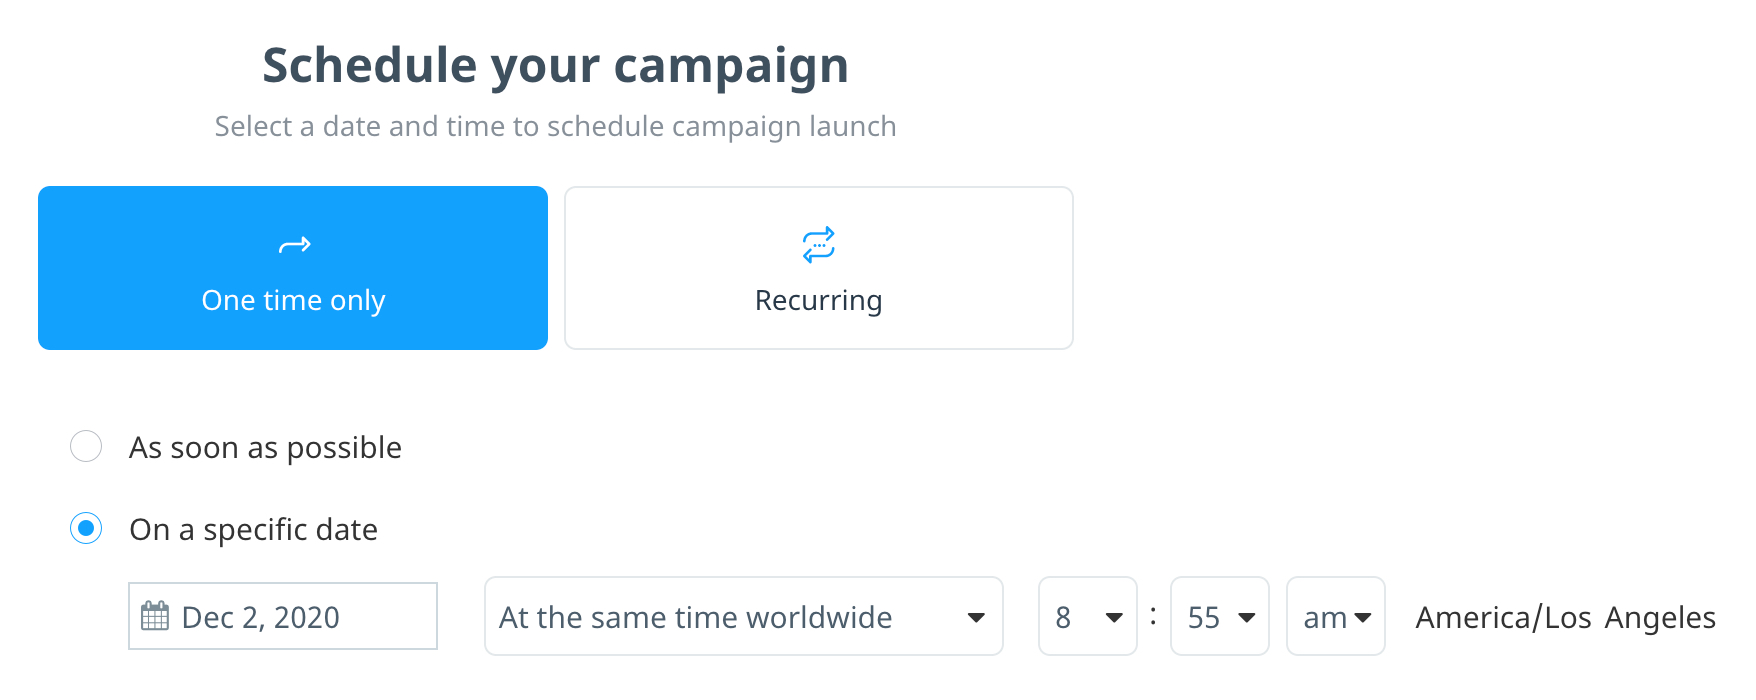
- Select the date box and start date from the calendar.
- In the next box, select the time at which to send the campaign. The options are:
- At the same time worldwide: Select a time from the list at which the campaign is sent to all users at the same time, in your company’s time zone.
- At specific local time of the user: Select a time from the list at which the campaign is sent in the user’s local time zone.
- At user’s optimal time: Swrve runs a proprietary algorithm that analyzes user behavior to calculate the optimal time, on a per-user basis, to send them the campaign. Select the timeframe over which to send the message at the user’s optimal time. The options are:
- Send the campaign at the optimal time for each user within a set window in the user’s local time.
- Send the campaign at the optimal time for the user within a 24-hour time period (that is, 24 hours on the date you selected, in your company’s time zone).
Recurring
To send your campaigns repeatedly over the course of weeks and months, on specific days as required, select Recurring and then select your scheduling options. The soonest you can launch a recurring campaign is the next day.
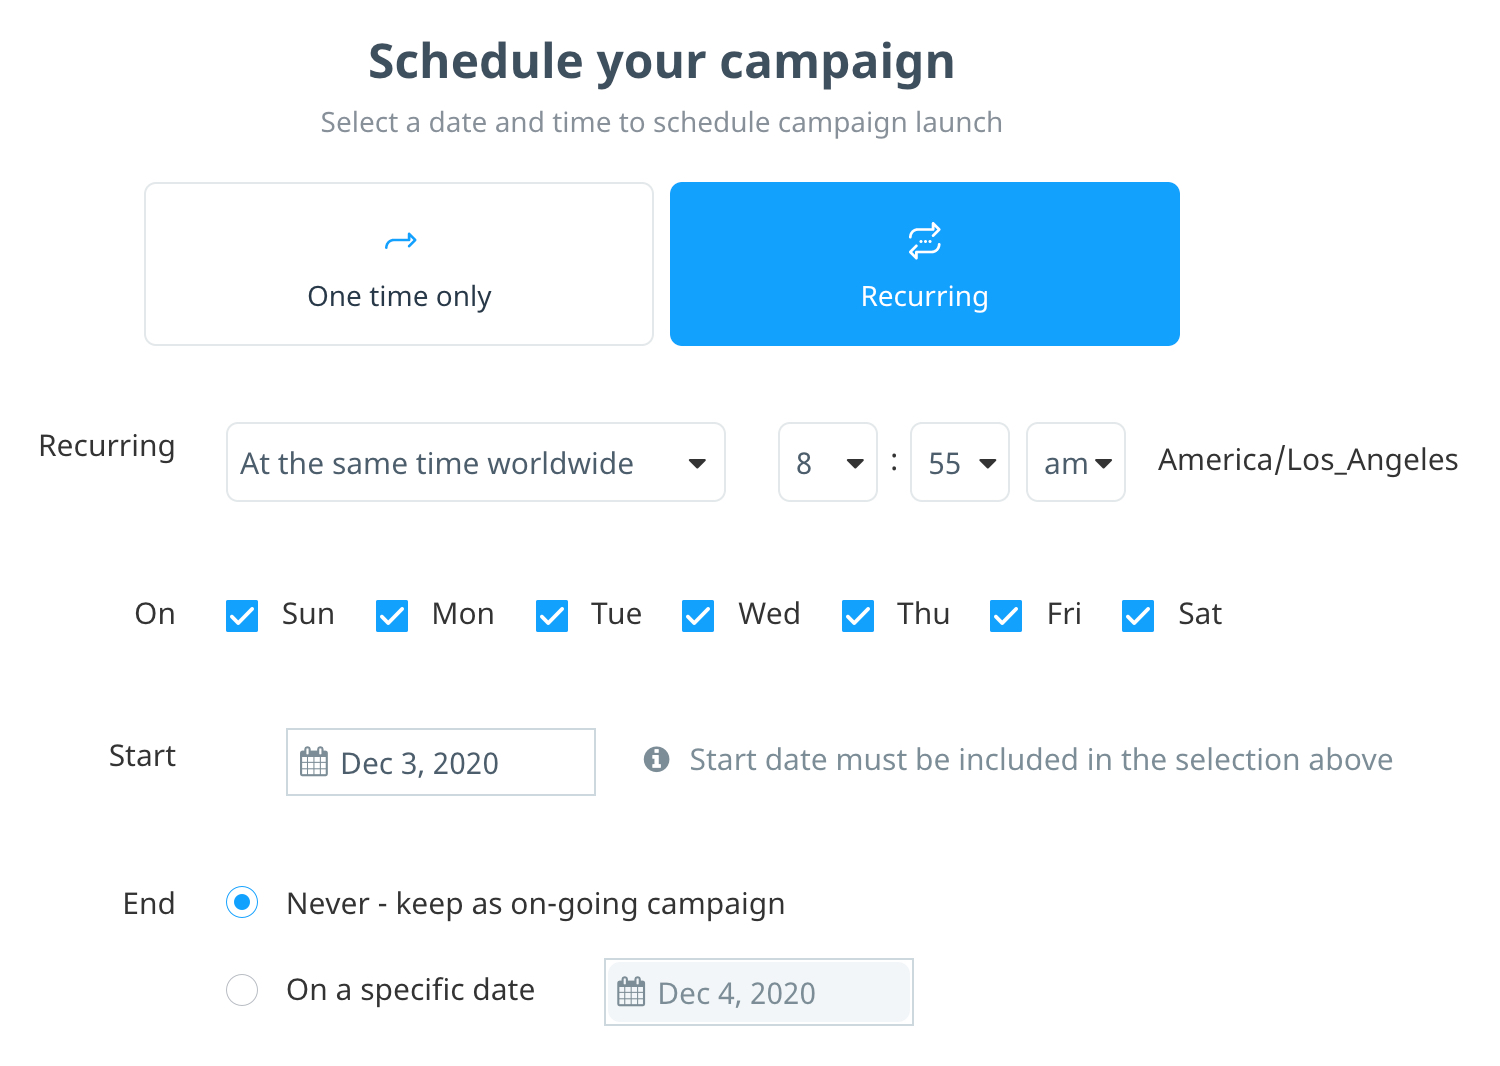
- Select an option to specify the time at which the notification should be sent (either daily or on the selected day(s), if applicable). The options are:
- At the same time worldwide: Select a time from the list at which the campaign is sent to all users at the same time, in your company’s time zone.
- At specific local time of the user: Select a time from the list at which the campaign is sent in the user’s local time zone.
- At user’s optimal time: Swrve runs a proprietary algorithm that analyzes user behavior to calculate the optimal time, on a per-user basis, to send them the campaign. Select the timeframe over which to send the message at the user’s optimal time. The options are:
- Send the campaign at the optimal time for each user within a set window in the user’s local time.
- Send the campaign at the optimal time for the user within a 24-hour time period (that is, 24 hours on the date you selected, in your company’s time zone).
- Select the days you want the campaign to repeat over. You can select just one day, any combination of days, or a full week.
- In the Start box, select a date for the campaign to begin. If you have selected a specific day or number of days, you must ensure that the date(s) chosen correspond with the day(s) selected.
- Select the End date for the campaign from the On a specific date calendar, or leave the selection at the default Never – keep as on-going campaign to set the campaign as ongoing.
- When you have entered all the scheduling details, to save your settings and return to the campaign build screen, select Save.
Schedule triggered campaigns
There are two main parts to scheduling a triggered campaign—setting the campaign start and end dates, if relevant, and then selecting the campaign trigger. To view scheduling and display options from the campaign build screen, select the Schedule & trigger block (push notifications) or Schedule & display block (in-app messages, embedded campaigns).
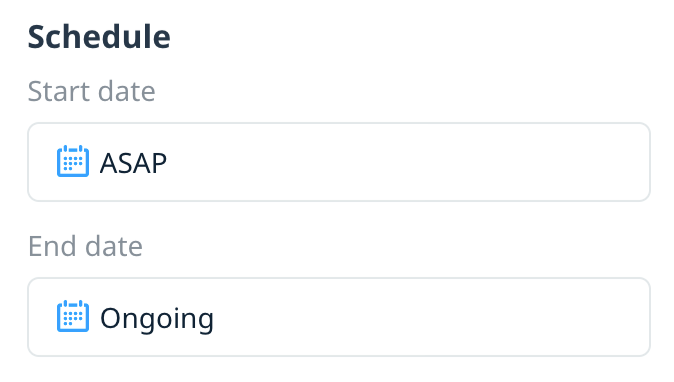
Campaign start and end dates
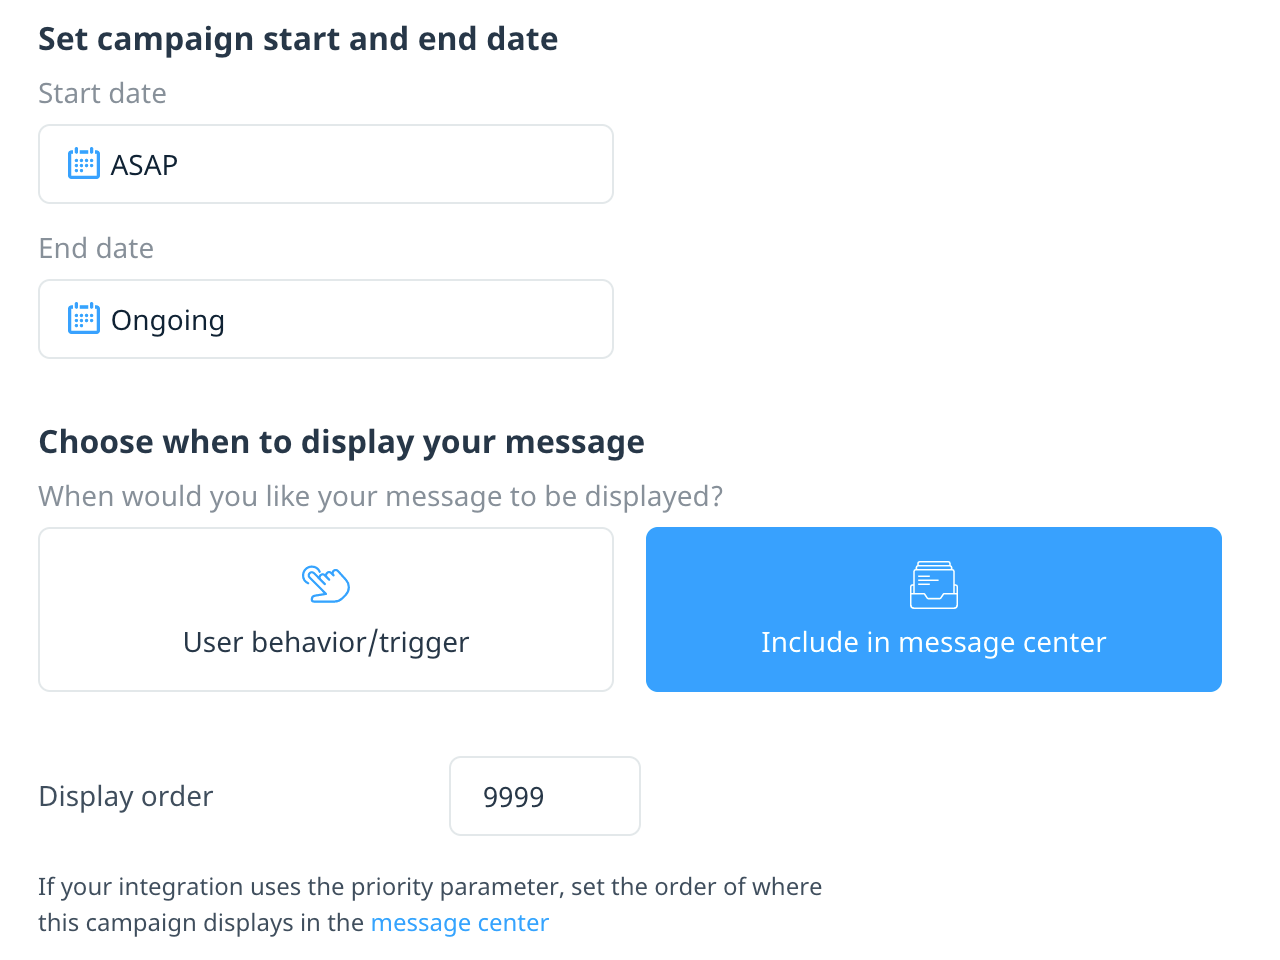
To activate your campaign immediately or keep it going indefinitely, leave the default campaign start and end values as ASAP and Ongoing. Otherwise, to set a start or end date, select the appropriate calendar and then select your campaign start or end date and time from the list.
Once the campaign is active, you have the option to pause and relaunch it. While you can edit the end date of a paused campaign, it’s not possible to change the start date once the campaign is active.
Intervals and Blackout Dates for In App Messages
In App Messages have some additional scheduling options, Intervals and Blackout Dates.
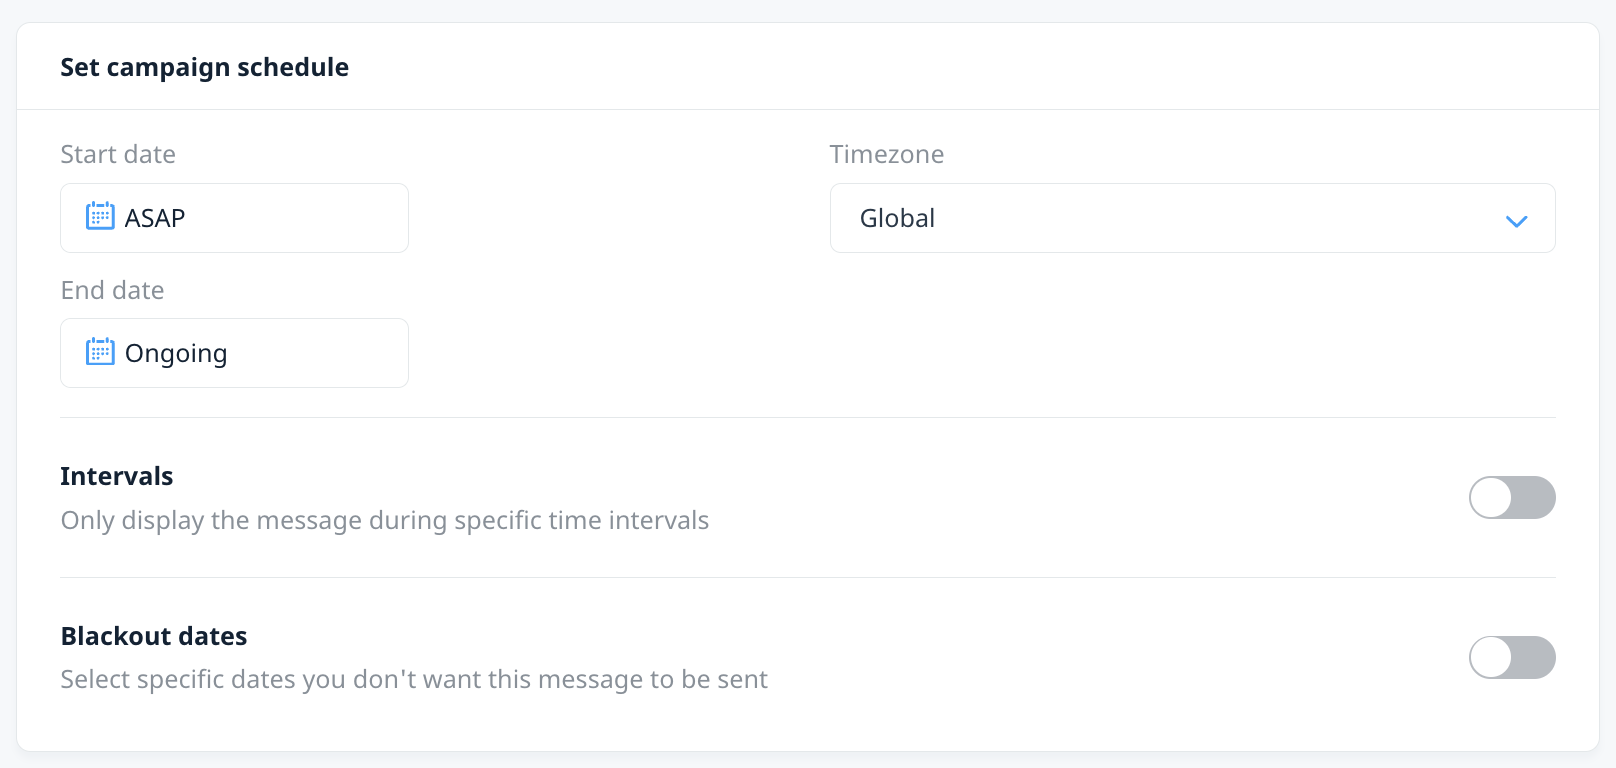
Intervals
You can now configure intervals where an active in app message will only display. You can configure a maximum of 10 intervals for each for each In App Message.

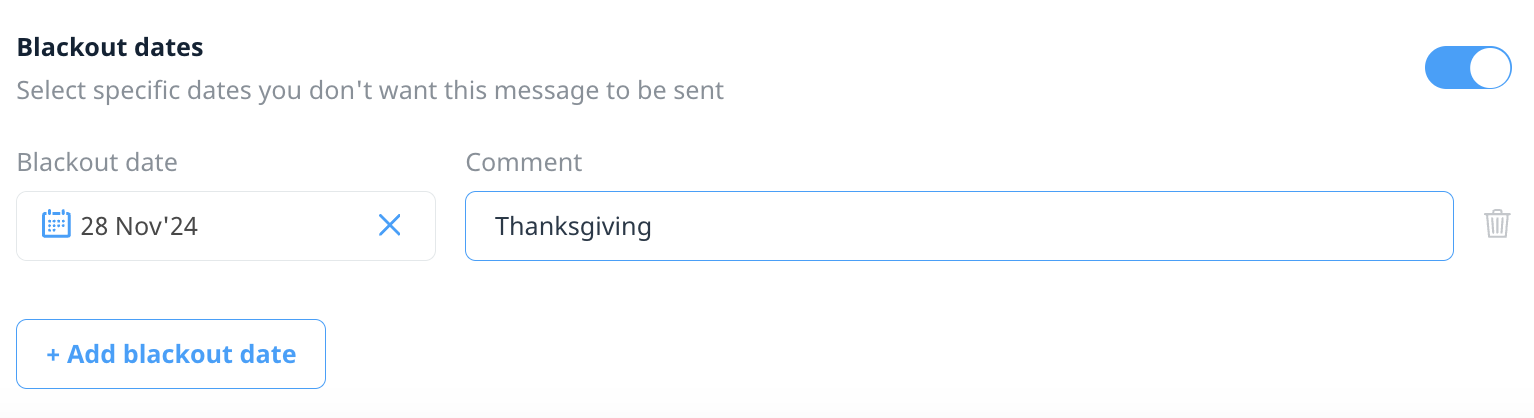
Blackout Dates
You can now configure Blackout Dates for In App Messages. Blackout dates are specific dates you don’t want the message to be sent. You can configure a maximum of 10 Blackout dates for each In App Message.
Display triggers for embedded and in-app messages
Depending on your app configuration, there are two options for triggering your message: User behavior/trigger or Include in Message center.
User behavior triggers
Select this option to display the campaign when targeted users launch the app or trigger specific events.
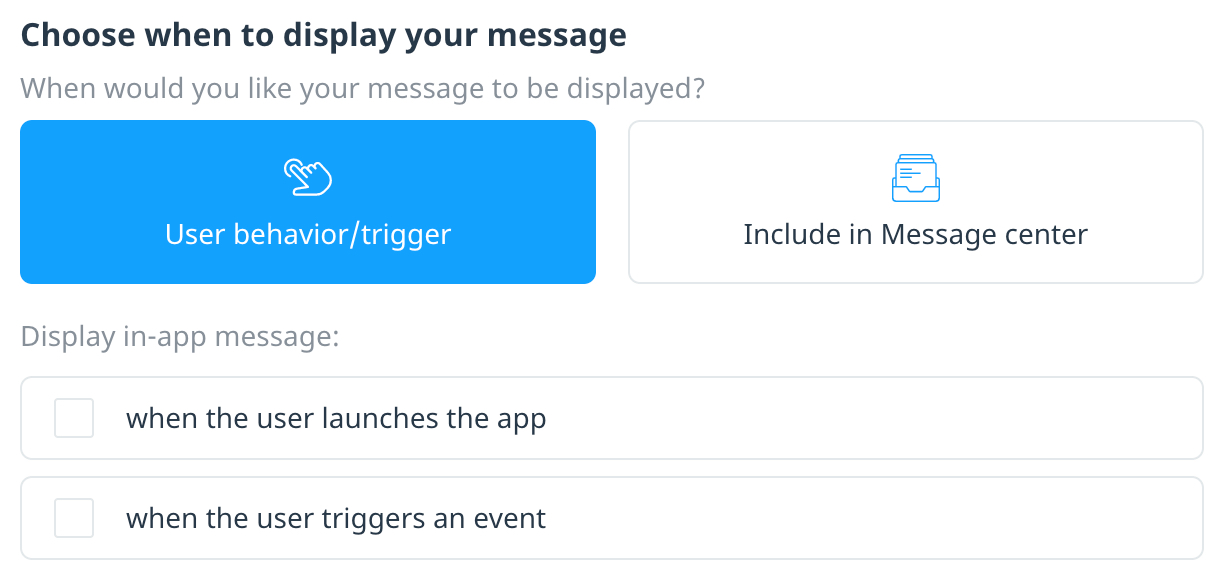
There are two options for displaying your message based on user behavior:
- When the user launches the app: Select to trigger the campaign when target users start a new app session.
- When the user triggers an event: Select to trigger the campaign when target users trigger specific events. Enter the event name in the search box and then select the desired event from the list.
- Optionally, after you select an event, you can add further conditions to the trigger if the event includes payload values. To include payload conditions, select +Add condition. In the Enter payload parameter box, enter the payload key as configured in your app, and then enter the payload value.
- You can include additional conditions as needed, edit existing conditions, or remove a condition. By default, multiple trigger conditions are based on an AND operator. Use the AND/OR operator to create payload conditions where the event trigger must match all conditions (AND) or match one of several conditions (OR).
Advanced trigger conditions
Event payload conditions include string or numeric values.
| Type | Operator | Triggers the campaign when the payload value is |
|---|---|---|
| String | Is | The same as the specified value. |
| Contains | The specified string or substring. | |
| Numeric | Equals | Equal to the specified number. |
| Is greater than | Greater than the specified number. | |
| Is less than | Less than the specified number. | |
| Is between | Inside the range of specified numbers. | |
| Is not between | Outside the range of specified numbers. |

Message display rules
Optionally, to define the campaign-level display rules, select Message display rules, and select the rules you want to apply. Then, complete the selected rule statements, as required. You can define the following:
- Maximum number of message views per device across all app sessions.
- Campaign priority over other campaigns with the same event triggers. A lower number means higher priority over other campaigns.
Timing restrictions
If you have selected one or more specific events to trigger your campaign, you can also define the following:
- The number of seconds of app usage that must elapse before a message can be displayed.
- The number of seconds after message dismissal that must elapse before a new message is displayed.
Display campaigns in a message center
Select this option if you want to trigger the campaign from your app’s message center.
You also have the option to set certain message center details for each variant or language through the Content builder, including the Subject, Description, and Thumbnail. For more information, see In-app messages.
Optionally, provide a display order value for your developer to use when sorting the campaigns in your app’s message center. The Message Center API does not sort campaigns based on priority by default, the priority order value is returned in the Message Center API as the priority. Your developer can choose whether to sort based on this or another parameter.
For more information, see the Message Center API guide.
Campaign triggers for push notifications
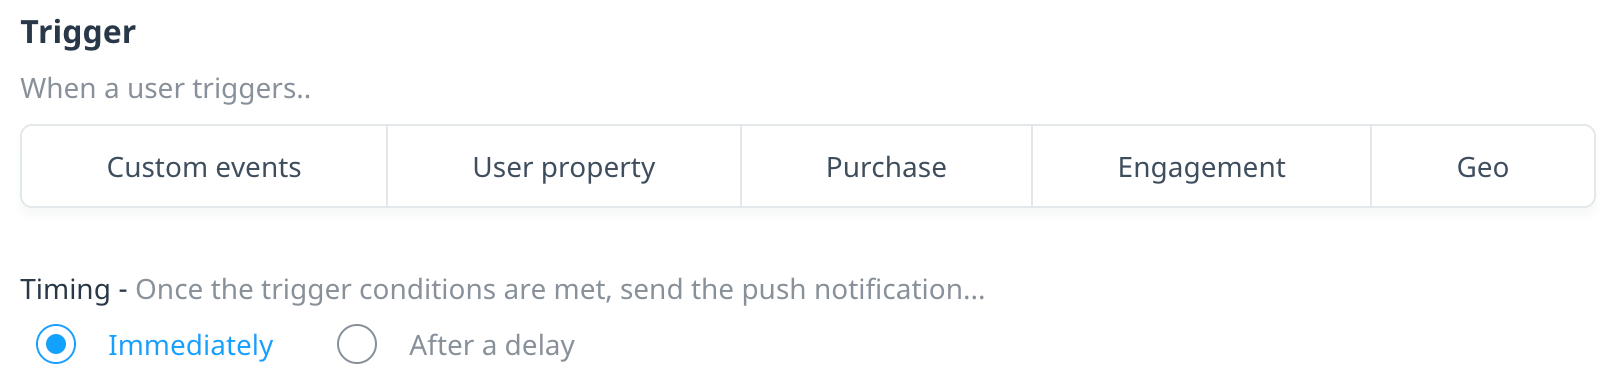
To trigger a push notification based on a user’s behavior, there are five categories of events available:
- Custom event – Send the notification if a user triggers the selected event.
- User property – Send the notification if a user property changes and meets the criteria you set for the property value.
- Purchase – Send the notification if the user completes a purchase, whether with real world currency or virtual currency.
- Engagement – Send the notification if a user starts a new app session or after they use the app for the first time.
- Geo – Send the notification if a user triggers the specified geoplace entry or exit event.
Event trigger conditions
Use +Add conditions to include +AND and +OR conditions, making the event trigger criteria more specific for the following categories:
- Custom event – Include event payload criteria for events you’ve configured through the event payload configuration page.
- Purchase – Add filters based on the purchase name: Item (Name), Item Cost, Quantity, or Currency.
- If filtering on Cost, you must also set the Currency.
- Geo – Add filters based on geoplace properties. Geoplace name is always available by default, as well as any custom geoplace properties you configured through the geoplace settings page.
Trigger timing
Select an option to send the push notification either immediately after the user triggers the event or after a set delay. If you apply a delay and the user triggers the event multiple times during the delay period, the notification is only sent for the first event.
Trigger rules
Use trigger rules to include cancellation events and limit the number of times a user can trigger the notification.
Cancellation events
Cancellation events are available if your notification trigger timing includes a delay. Use the same event categories described above to apply one or more cancellation events to your campaign as needed.
Capping
To define how often the user is eligible to trigger the campaign, select a capping option:
- Each time – Send the notification every time the user triggers the event.
- One time – Send the notification only the first time the user triggers the event.
Launch your campaign
After you enter all the schedule and display details, to save your settings and return to the campaign build screen, select Save. When you’re ready to launch your campaign, on the campaign build screen, select Launch, Schedule, or Activate campaign.
Next steps
- Learn how to configure the target audience of your daily recurring push campaigns using event recency criteria in our new campaign workflow for push notifications. For more information, see How do I configure target audiences for daily recurring push campaigns?
- View results and reports for your campaign or change the status. For more information, see Managing your campaigns.