Testing push notifications
Swrve’s push notification QA testing functionality has two main purposes:
- Your development team can use it to send test push notifications to your QA devices to ensure the push notification integration is complete before you create your first push notification.
- You can use it to test out new push notifications before you commit to launching them.
There are two steps involved in QA testing a push notification:
- Set up the QA device.
- Test your push notification.
Setting up QA devices
For detailed instructions on how to set up QA devices, and for troubleshooting information on setting up QA devices for push notification testing, see How do I set up QA devices?
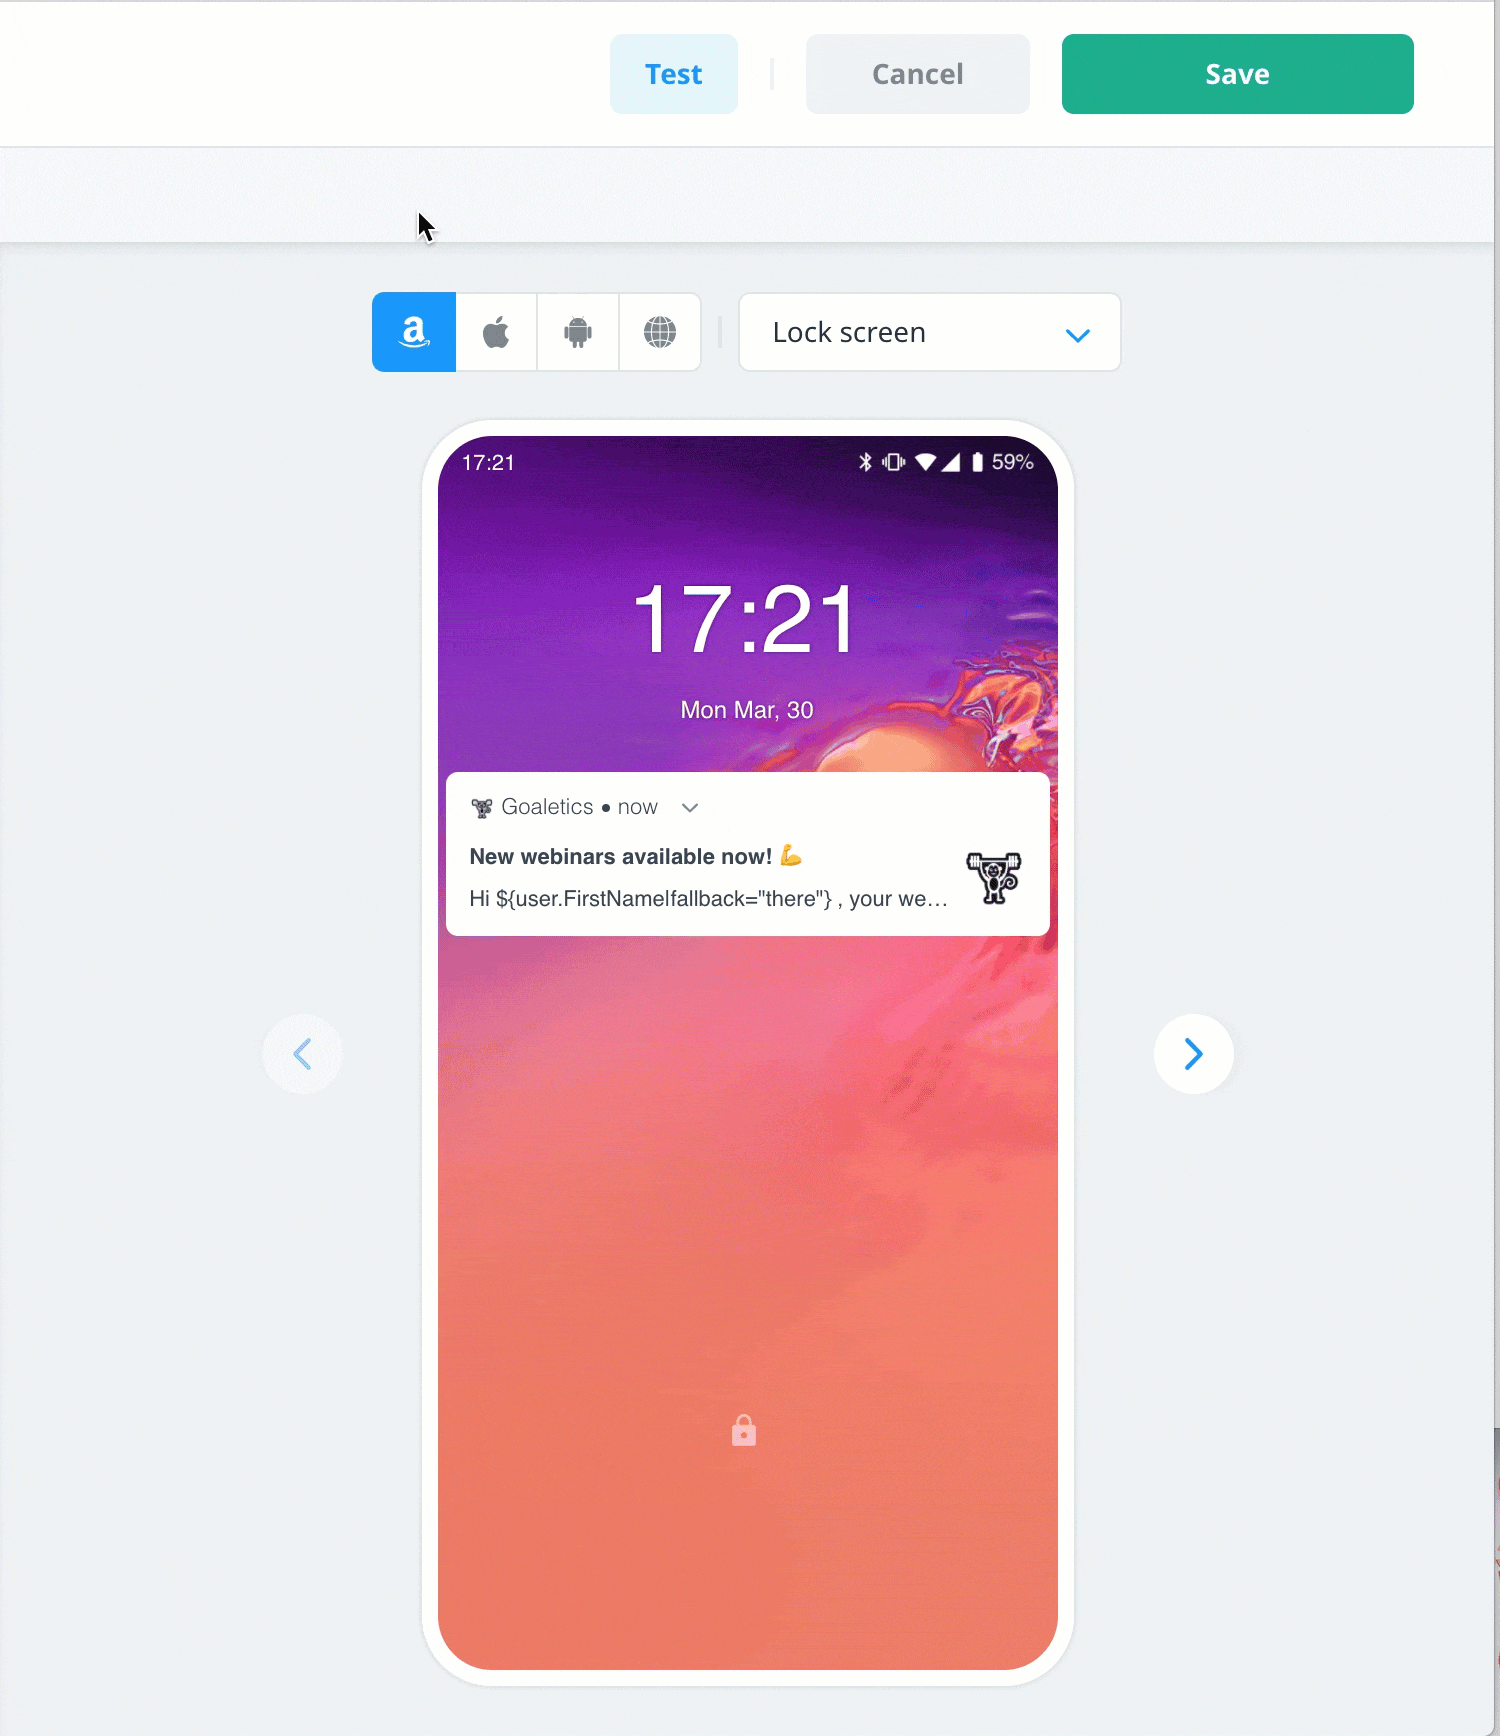
Testing your push notification
To test a push notification:
- From your Campaigns center, select the campaign you want to test, and then on the Content block, select edit or view . For more information about creating push campaigns in our consolidated campaign flow, see Creating a multi-platform push campaign.
- If your campaign includes multiple languages and variants, select the content you want to test, and then in the header bar, select Test.
- Select your device from the list and then select Send. If the Send button is disabled, check to make sure your message includes all required content.
Push via API campaigns
To QA test push API campaigns, you must first create the campaign, which generates a campaign-specific API key. For instructions on how to use the API key to QA test a Push API campaign, see Push via API.
Next steps
- Launch your push notification if you have not already done so or create a new push notification. For more information, see Scheduling your campaigns.
- View the push notification results on the individual campaign report. For more information, see Campaign reports.