Creating in-app message campaigns
Swrve’s streamlined campaign workflow gives you several options to create and manage your in-app message campaigns. It supports creating in-app messages using a combination of images and text, as well as the ability to personalize text and call-to-actions.
For more information on customizing your in-app message campaigns, see Editing in-app message content.
There are five steps involved in creating an in-app message campaign:
- Create a new campaign and select the campaign channel.
- Select a message template and add dynamic elements (optional).
- Define your message content.
- Personalize content and actions using Swrve’s real-time user properties.
- Preview and test your content, before launching your campaign.
Prerequisites
To deliver platform-specific in-app messages, your development team must integrate the latest Swrve SDK. For more details, see Intro to in-app messages.
For some hints and tips about in-app messages, see In-app communications best practices.
Create a new campaign
The first steps for setting up an in-app message are the same as other channels, with a few extra actions.
- To create a new campaign from your Campaigns center, select Create campaign.
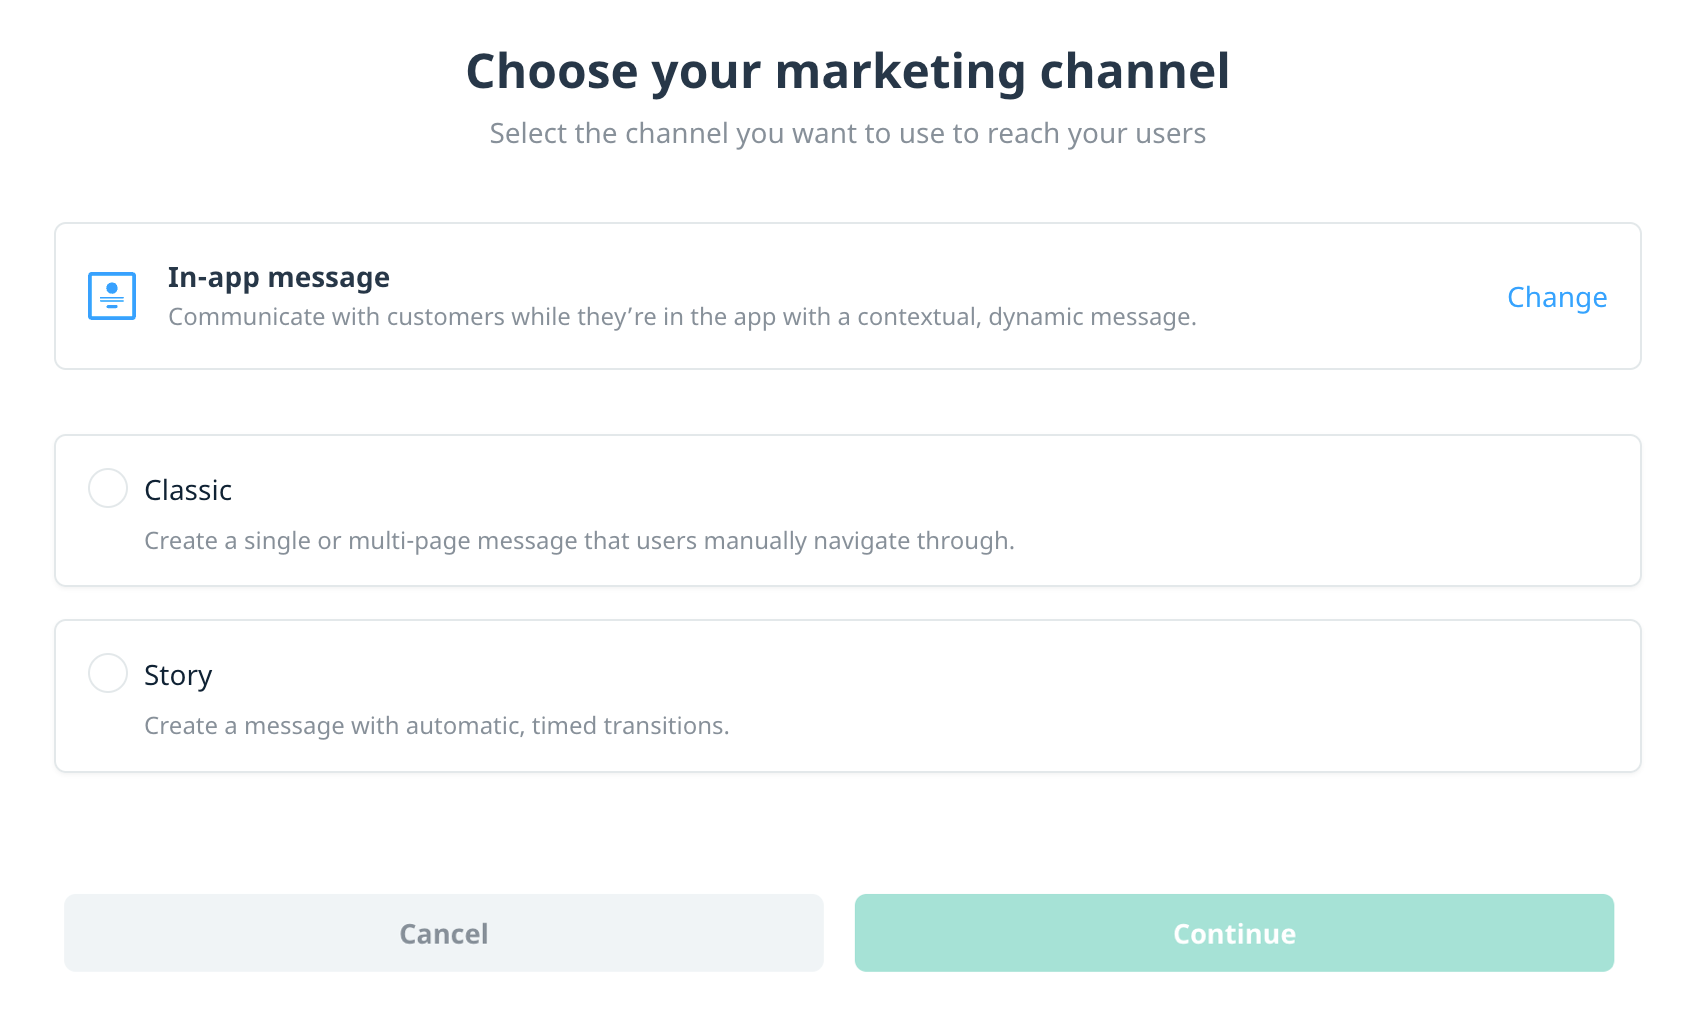
- On the Choose your marketing channel screen, select In-app message.
- Under Choose in-app message type, select the in-app message type:
- Classic – Select to create a single or multi-page message that users manually navigate through. For more information on multi-page messages, see Building pages.
- Story – Select to create a message with automatic, timed transitions. For more information, see In-app message Stories.
- To deliver in-app message campaigns to a specific device type (for example, if the content structure is different between TV and mobile), select a Device type from the options of Mobile and TV. The default is All device types. Note: Device type delivery only applies if your app supports multiple device types.
- To deliver in-app message campaigns to a specific platform (for example, if your campaign’s content is not relevant to all platforms), select the specific Platform from the options. The default is All platforms.
Note: The platform options differ based on whether you’ve selected a Classic or Story-type campaign.- Classic – Supports Apple, Google, Amazon, Huawei, Tizen, WebOS, and Roku.
- Story – Supports Apple, Google, Amazon, and Huawei.
- To continue to the Campaign overview screen, select Continue.
- Enter the Campaign name, Description, and Tags, then select Save to go to the campaign builder.
The blocks on the campaign screen guide you through building your campaign. While there is no specific order to how you build your campaign, you must complete Content and Schedule before you can test and activate your campaign.
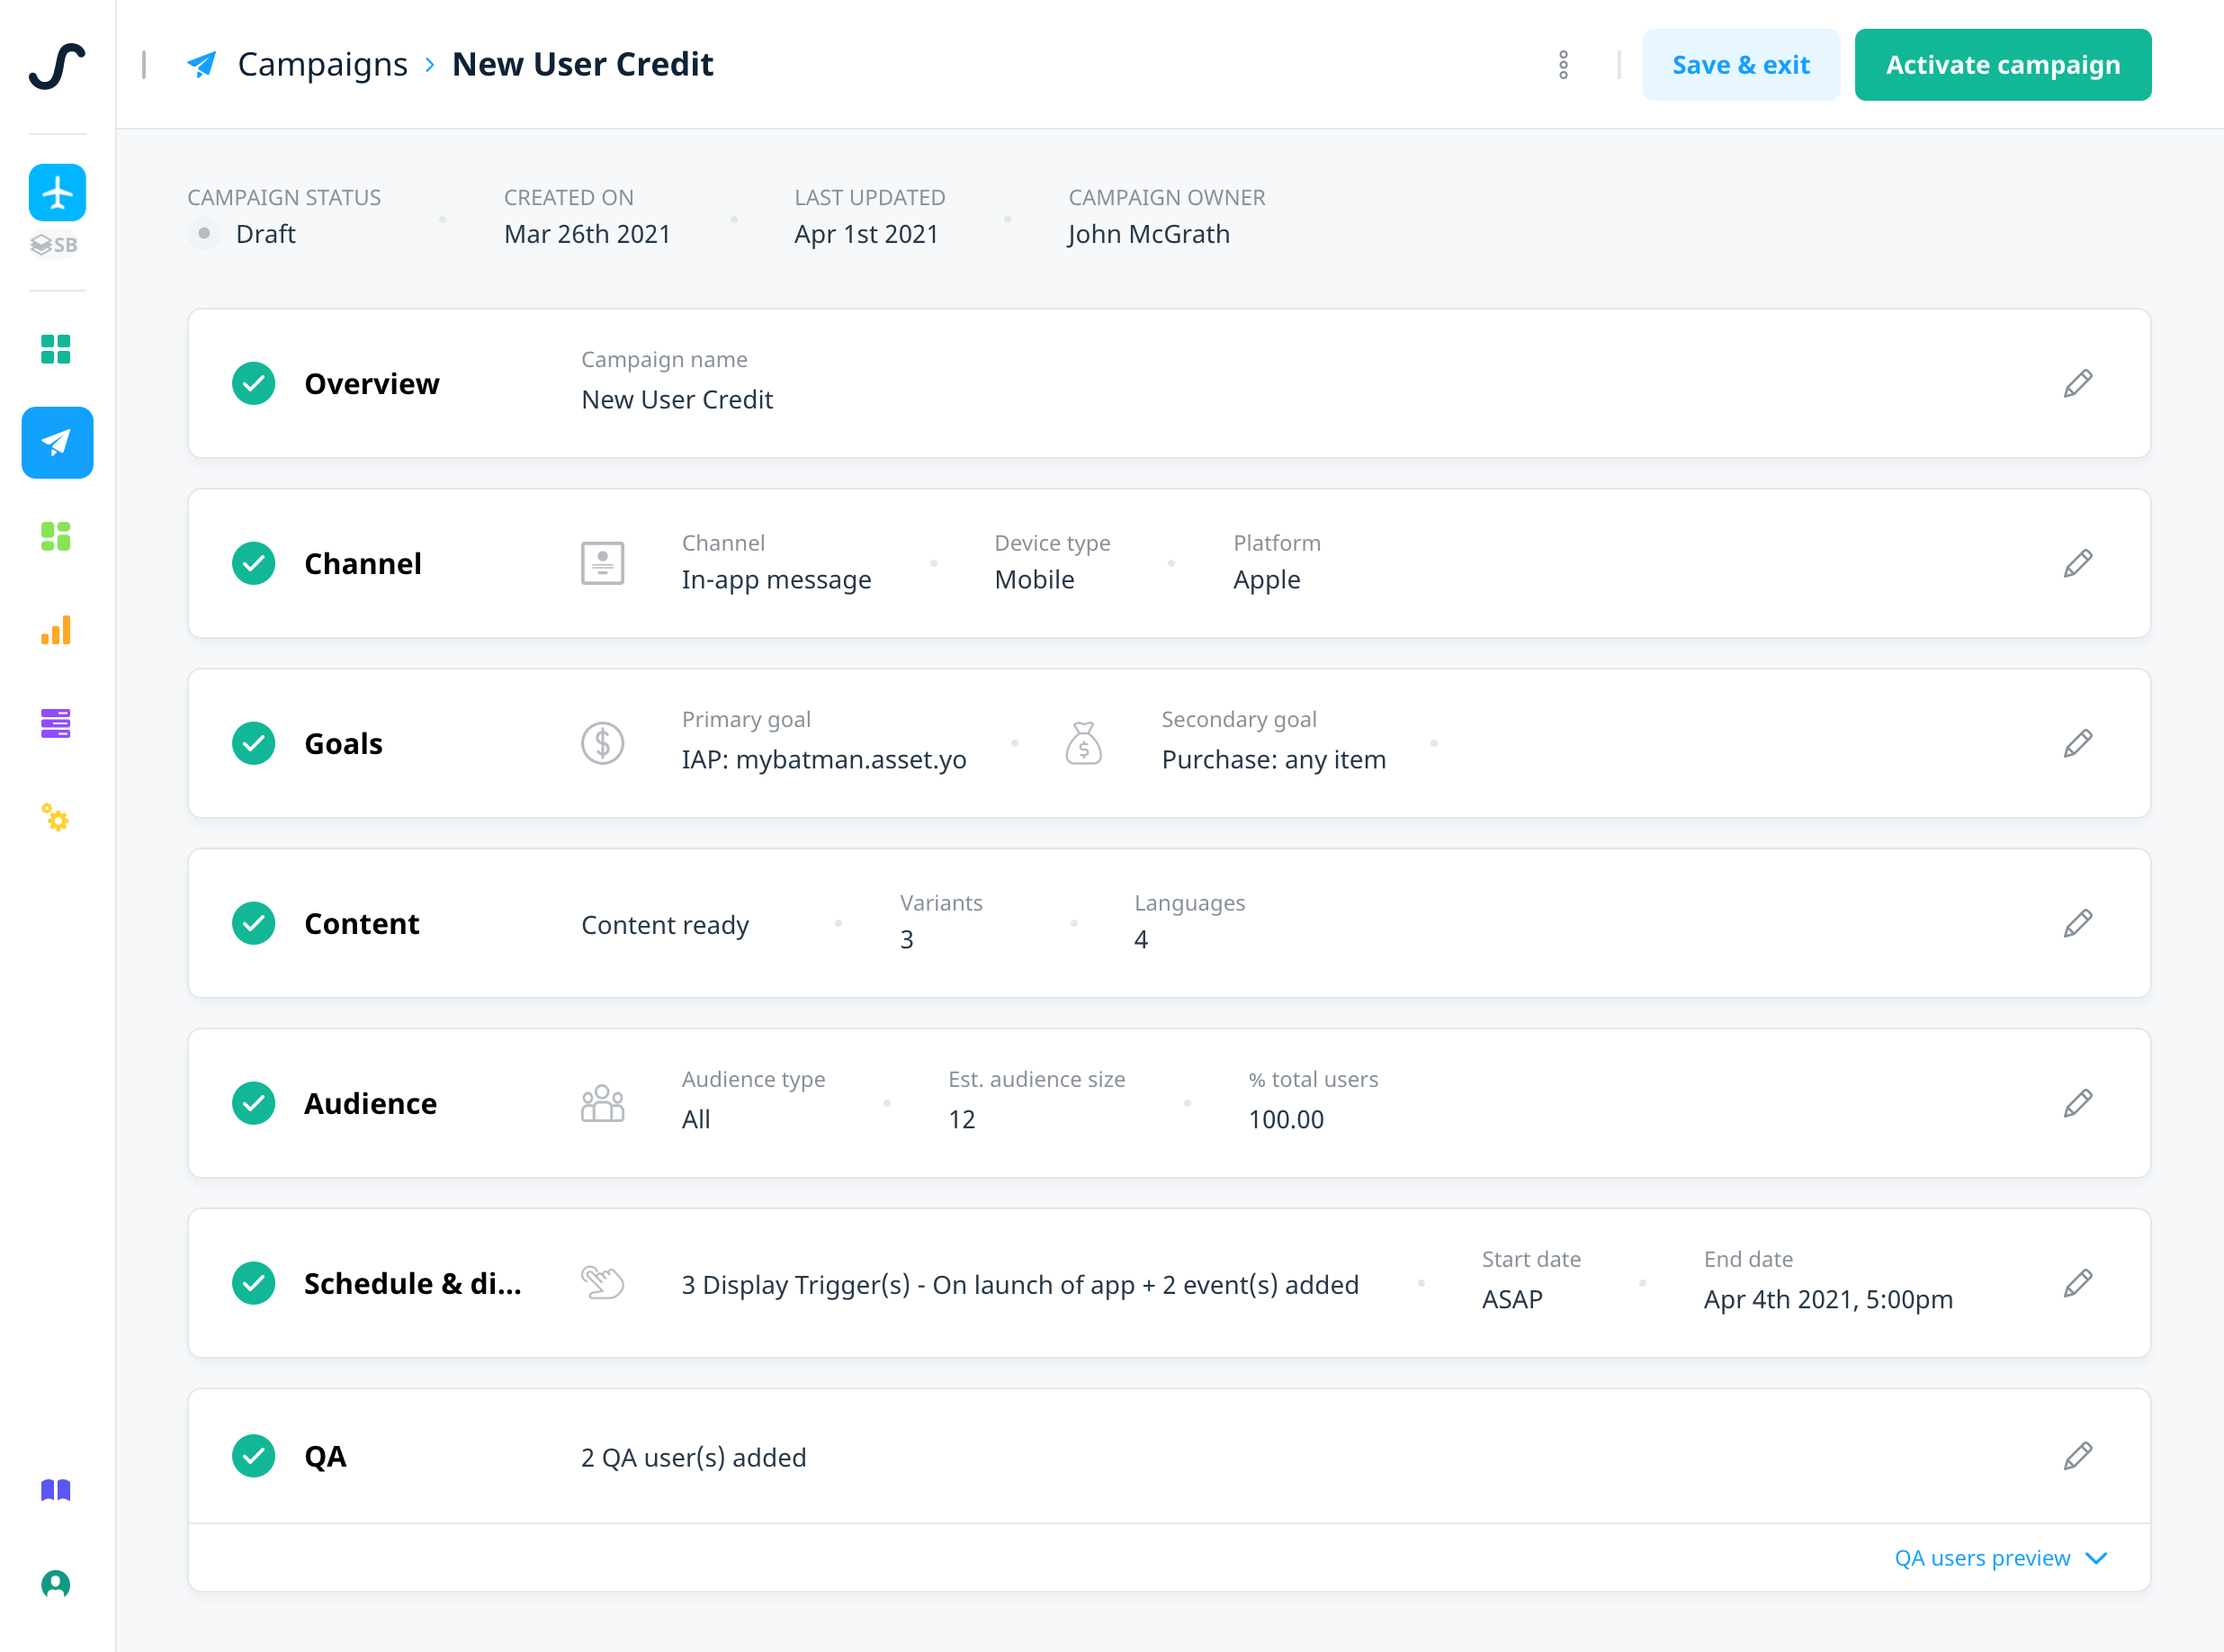
To update your platform and device type selections while your campaign is in Draft, select Channel. In some instances, changing the platform and device type might reset your campaign content, as the selection determines which templates are available to use.
The rest of this article mainly focuses on how to add campaign content and personalize single-line text and custom actions. To learn how to create your target audience, set your campaign display triggers, and schedule your campaign, see the following:
Building an in-app message
To add or edit your in-app message content from the campaign build screen, use the following steps.
- On the Content block, select add + or edit .
- Choose the in-app message template that matches the layout of the message and update each template element with the appropriate content.
- Add further in-app elements using the + Add element button.
The following sections cover these steps in more detail.
Message templates
The message template dictates the type of content you can include in your campaign. By default, Swrve supplies three templates for each orientation. If you require additional templates, contact your CSM at support@messagegears.com.
The default templates are:
- No Buttons – Contains only background content and an associated action (for example, dismiss, deeplink).
- One Button – Contains background media, a single on-screen button, and the associated actions for both.
- Two Buttons – Contains background media, two on-screen buttons, and the associated actions for each.
To select your message template:
- From the Campaigns builder, select the Content block.
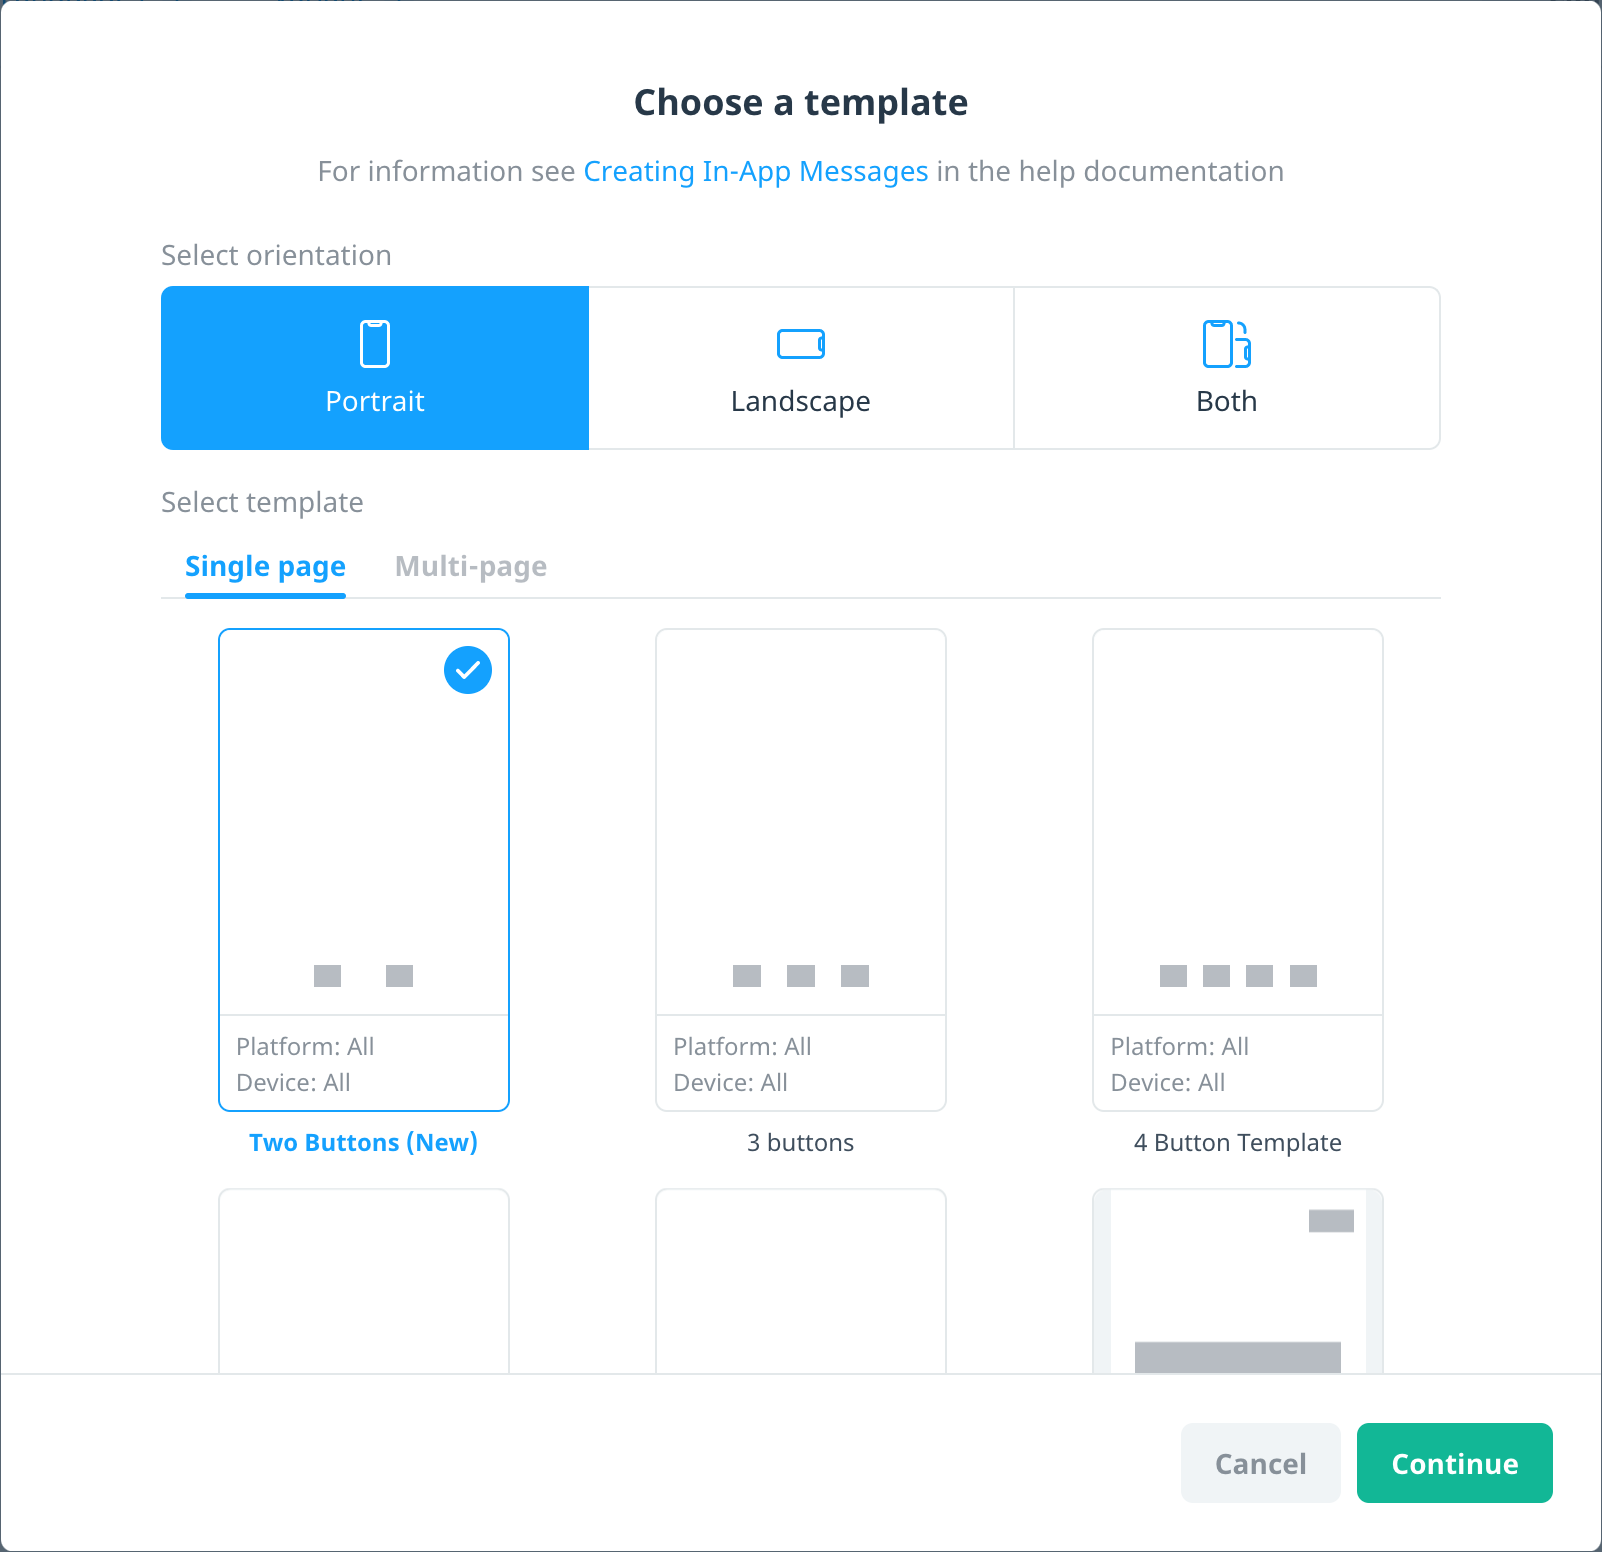
- In the Choose a template dialog, select the template orientation. The options are Portrait, Landscape, or Both.
- The available templates depend on your device type and platform selections. Select the template you want to use, whether for a single page or multi-page message, and then select Continue to proceed to the content editor.
To change your template, on the Content screen, select Change template. Changing your template resets any previously added content.
Edit your message content
Once you’ve built your campaign and selected your template, use Swrve’s customizable features to edit your in-app message content. For more information on how to tailor your campaign content, see Editing in-app message content.
Preview message content
As you add your content, it displays in the device preview on the right side of the editor. To preview the content on a specific device or orientation, select an option from the device list and select the orientation icon. To include or hide the image safe zone in your preview (that is, the portion of the image that always displays after automatic resizing, regardless of the platform device), select the Safe Zones toggle.
The device preview and orientation automatically update to reflect the content you are currently editing. For example, if you upload an image for the landscape format, the device preview automatically changes to show the landscape orientation.
Localize and A/B test your content
One of the most exciting features of our streamlined campaign flow is the ability to localize and A/B test your campaign content within a single, unified campaign. Use the Languages and Variant tabs to create localized versions of your content or create variations of your content to test for best conversion and engagement.

For more information on how to localize and A/B test your campaign content, see Localizing and A/B testing campaign content.
Test your campaign
To test the in-app message campaign on a physical device, first ensure your device is set up on the QA devices screen. For more information, see Testing triggered campaigns.
Next steps
- Set custom goals to measure the success of your campaign. For more information, see Campaign goals.
- Define your campaign audience. For more information, see Targeting campaign audiences.
- Schedule and launch your campaign. For more information, see Scheduling your campaign.
- Manage your campaigns from the Swrve Campaign center. For more information, see Managing your campaigns.
- If you’re using a push notification to trigger the in-app message, review how to configure the linked in-app message campaign in Push notifications to in-app campaigns.
- Display information about the in-app campaign in your app’s message center. For more information, see Displaying in-app campaigns in a message center.