Movable Ink
Prerequisites
- An active Movable Ink account.
- To support rich media push notifications, your app must be running a minimum version of Swrve SDK 4.11. We recommend upgrading your app to the most recent SDK version.
- For iOS apps, you must also add a service extension in your SDK integration. For more information, see the iOS integration guide.
- To support personalized in-app messages, your app must be running a minimum version of Swrve iOS SDK 7.0.0, Android SDK 7.5.0, and Unity SDK 8.0.0.
Include Movable Ink content in supported Swrve campaigns
Swrve supports including Moveable Ink content in push notification and in-app message campaigns. You must first create the campaign content in Movable Ink, get the image source URL, and then reference the URL in your Swrve campaign content.
Create a campaign in Movable Ink
- From the Movable Ink home screen, create a campaign and select Push or In-App Messaging as your channel.
- Start creating your blocks of content by uploading static image assets, selecting reusable blocks of content from the Media Library, or by creating new content using an App from your App Library.
For more information on using Movable Ink to create content, visit the Movable Ink Support Center.
Get the Movable Ink image source URL
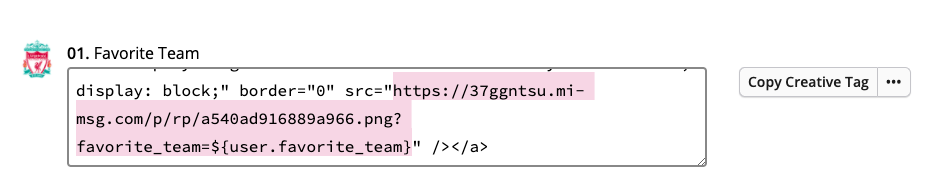
- Once you’ve configured your Movable Ink campaign, go to the Finish & Export tab to export your creative tag.
- Copy the Image URL (the src of the img tag) from the creative tag.

Insert image source into Swrve campaign
To include the Movable Ink image URL in your Swrve campaign, on the builder page of the campaign, select the Content block.
Push notifications
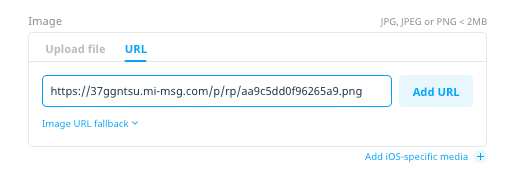
- On the Content screen, enter the image source URL in the Image URL (multi-platform campaign) or Media URL box (iOS only campaign).
- Alternatively, use the image URL for platform-specific media.
- iOS: Select Add iOS-specific media, then enter the URL in the URL box.
- Android: Select Android options, then enter the URL into the Large icon or Extended icon URL box.
In-app messages
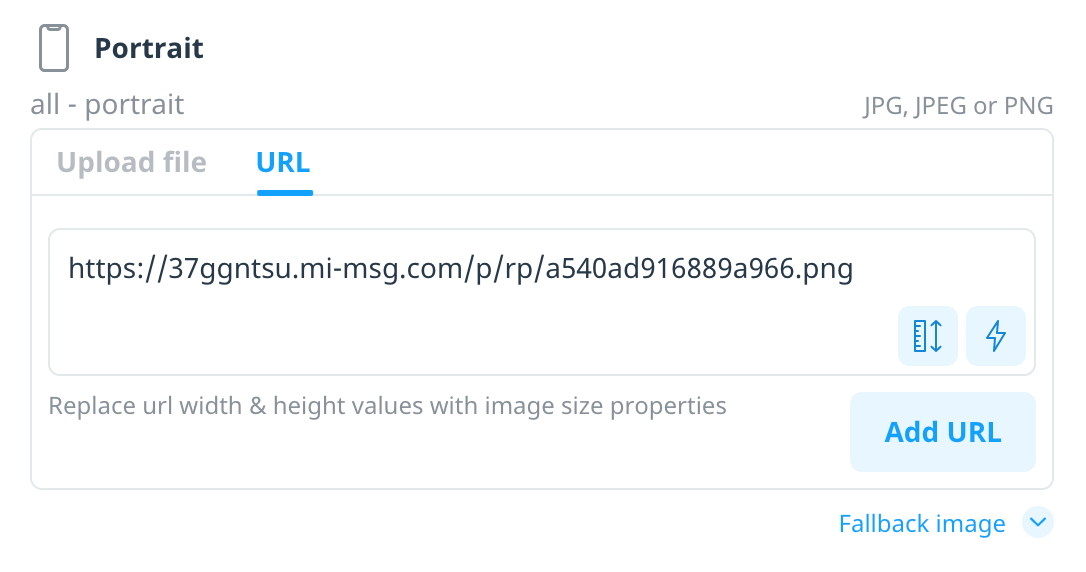
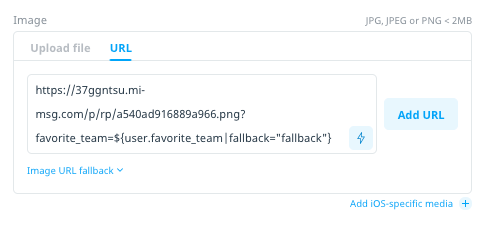
- On the Content screen, in the Background section, select URL and then enter the image source URL in the URL box.
- If optimizing for different screen sizes, insert the container height and width properties in the image source URL. For more details, see Optimize images for different screen sizes below.
Personalize Swrve campaigns using Query Parameters
Use Swrve’s dynamic user properties with Movable Ink’s query parameters to personalize images in your push notifications and in-app messages and transform your campaigns into highly personal experiences for each consumer.
Create dynamic fields and define query parameters in Movable Ink
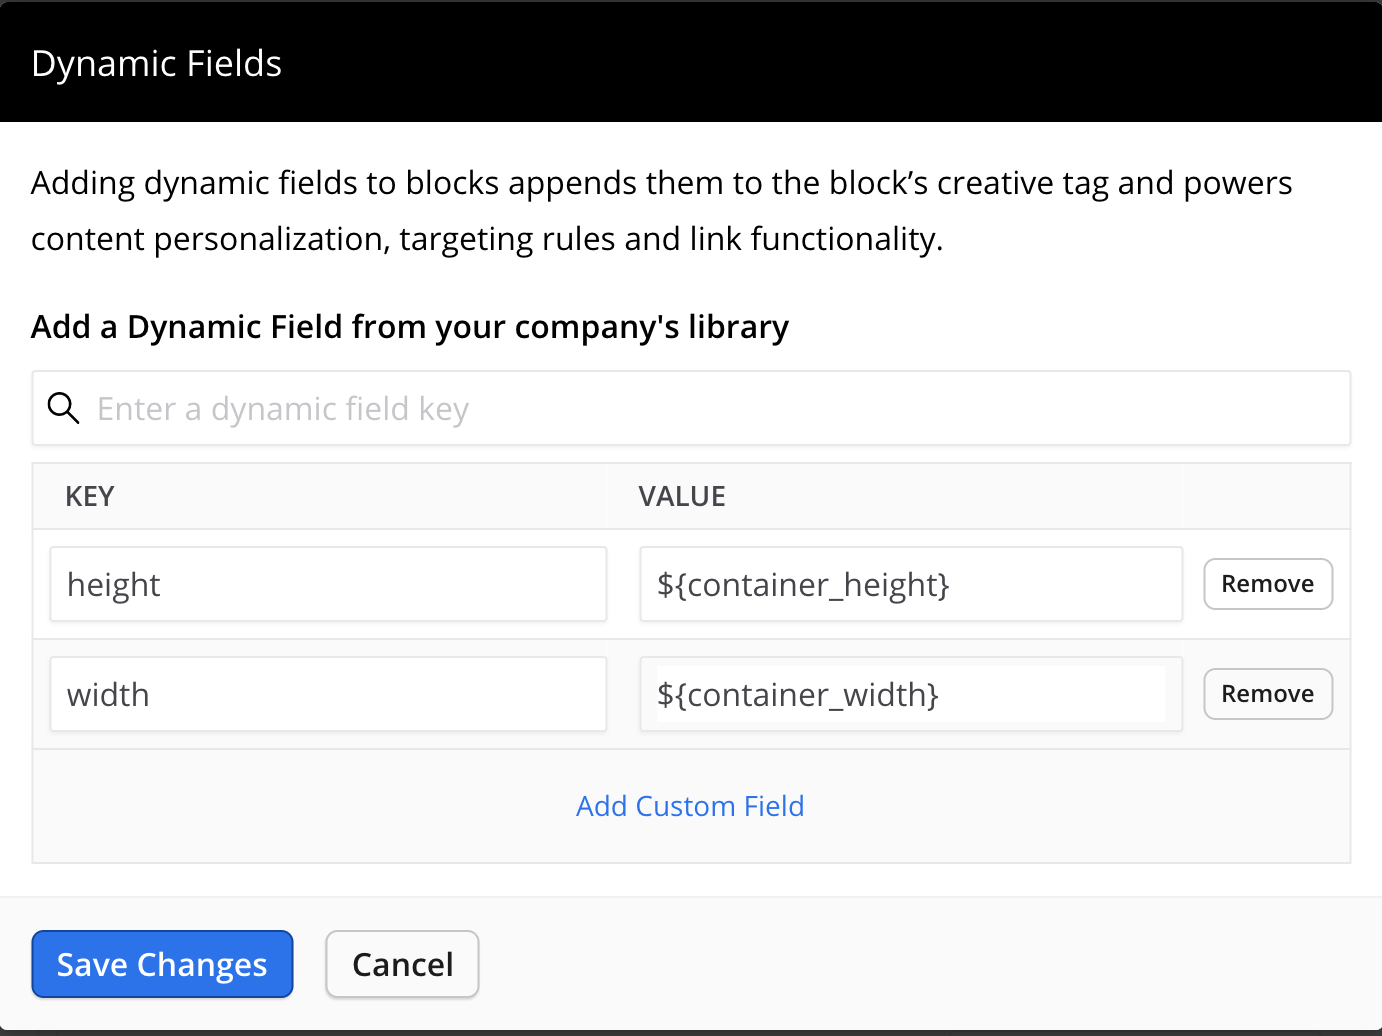
- When creating a campaign in Movable Ink, select Add Dynamic Fields.
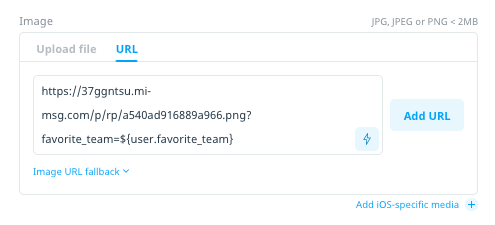
- In the Dynamic Fields panel, set your query param and dynamic field using the Swrve personalization syntax, ${user.<user_property_key>}. Note that Swrve overrides the dynamic field value with the appropriate user property value when sending the push notification or downloading the in-app message content.

- Select Add Target, and add a targeting rule using the Dynamic field rule type and dynamic field you created. For more information on using query parameters in targeting rules, see Contextual targeting rules examples.

- Copy the image source URL, complete with the dynamic field.
Personalize the image source URL in your Swrve campaign
Enter the Movable Ink image source URL into the appropriate URL box as described above in Insert image source into Swrve campaign.
Optimize images for different screen sizes
Swrve auto-scales in-app message content uploaded directly into the dashboard to optimize messages for different screen sizes. When adding images to your in-app campaign via URL, you can mimic the auto-scaling behavior using Movable Ink’s query parameters and Swrve’s dynamic container properties. For more information on Swrve’s dynamic container properties, see In-app messages.
- Follow the steps from Create dynamic fields and define query parameters in Movable Ink to add width and height fields with values ${container_width} and ${container_height}, respectively.
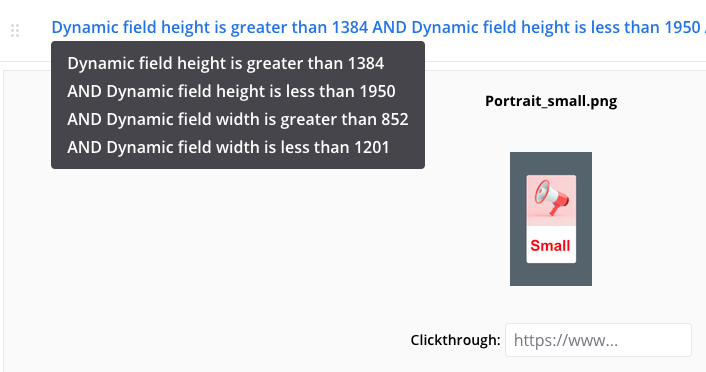
- Select Add Target, and add targeting rules using the width and height dynamic fields you created. Set specific values or value ranges for one or all pieces of dynamic content.
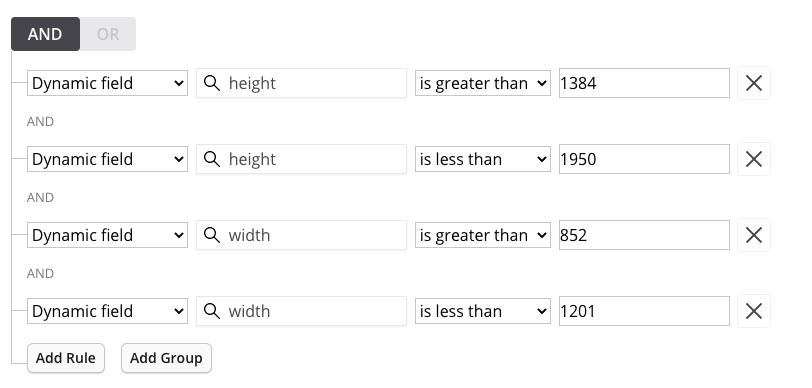
- Upload the image asset corresponding to the content block’s width and height target ranges. For example, an image with resolution 1200 X 1949 pixels (width X height) would be appropriate for the target ranges shown in step 2.
- Copy the image URL source, complete with the dynamic fields

Add fallback content to your personalized campaign
By default, Swrve doesn’t send a personalized push notification or display an in-app message to a user if they’re missing the value for the selected property. To send the notification or display the in-app message, use static fallback text in place of any missing property value. Furthermore, you can link that fallback text value to fallback content when creating your Movable Ink campaign.
Create fallback content in Movable Ink
Create an additional target using the Query param rule and set the value to “fallback“. 
Apply the fallback value to your Swrve campaign
There are two options for adding fallback text to the Swrve query parameter in your campaign.
Enter text manually using Swrve’s fallback syntax
In your Swrve campaign, update the Swrve query parameter that you added as a dynamic field in Movable Ink to include a fallback value using Swrve’s fallback syntax. For example: ${user.favorite_team|fallback=”fallback”}.
Insert fallback value using Swrve’s Insert Property dialog
- Alternatively, you can set a fallback value by removing the Swrve query parameter you added as a dynamic field within Movable Ink and selecting Insert property .

- To set the fallback value, select property fallback support and Add custom text, then set the value to “fallback”.
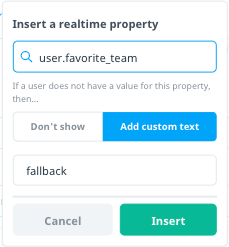
In the above example, “fallback” is used as an example static value. You can set any desired value as your static fallback text, as long as it does not match any other possible value for your user property, or is not being used as a value in any other targeting rule.
Using Movable Ink deeplink URLs
Movable Ink campaigns generate tracking URLs to record push notification and in-app message engagements. To keep the user in the app after they engage with a push notification or in-app message, Movable Ink recommends using Branch.io to convert these tracking URLs into multi-platform deeplinks. For more information, see the Movable Ink – In-App Messages guide.